Big Blue Monster Stuffed Cookies
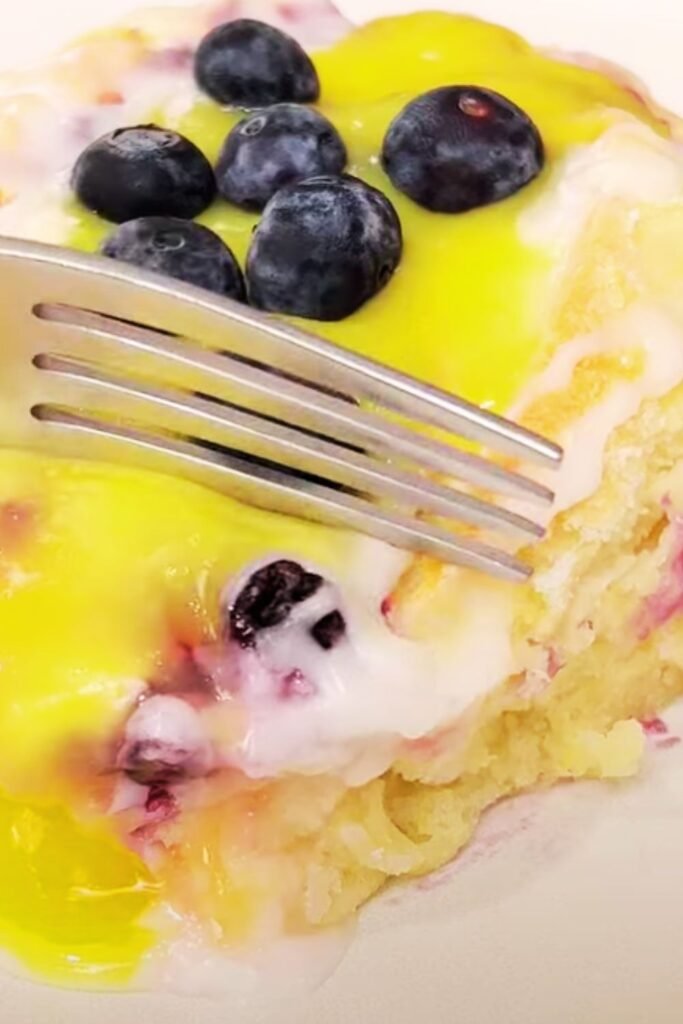
There’s something absolutely magical about biting into a cookie and discovering a delightful surprise hidden inside. My Big Blue Monster Stuffed Cookies take this concept to the next level, combining the beloved flavors of childhood with a sophisticated twist that’ll make both kids and adults weak in the knees. These aren’t your ordinary cookies – they’re an experience wrapped in blue-tinted dough and stuffed with creamy goodness that oozes out with every bite.
I’ve been perfecting this recipe for months, and I can honestly say these cookies have become the star of every gathering I bring them to. The vibrant blue color immediately catches everyone’s attention, while the stuffed center delivers that “wow” factor that keeps people coming back for more. Whether you’re planning a monster-themed party, looking for a fun weekend baking project, or simply want to surprise your family with something extraordinary, these cookies deliver on every front.
What Makes These Cookies Special
Stuffed Cookie: A cookie technique where fillings are enclosed within cookie dough before baking, creating a surprise center that melts or maintains texture during the baking process.
Blue Food Coloring: A food-safe coloring agent that transforms ordinary cookie dough into vibrant, eye-catching treats without affecting the flavor profile.
Monster Theme: A playful culinary approach that embraces bold colors, fun textures, and whimsical presentations to create memorable dessert experiences.
The beauty of these Big Blue Monster Stuffed Cookies lies in their versatility. I’ve experimented with countless filling combinations, from classic cream cheese to chocolate ganache, and each variation brings its own personality to the table. The blue exterior serves as the perfect canvas for creativity, while the stuffed center ensures every bite is an adventure.
Essential Ingredients Breakdown
Creating the perfect Big Blue Monster Stuffed Cookies requires understanding how each ingredient contributes to the final result. I’ve learned through trial and error that ingredient quality directly impacts both taste and texture, so I never compromise on the basics.
| Ingredient | Purpose | Quality Tips | Substitution Options |
|---|---|---|---|
| All-purpose flour | Structure and texture | Use fresh, sifted flour | Cake flour (reduce by 2 tbsp) |
| Unsalted butter | Flavor and tenderness | Room temperature, high-fat content | Salted butter (reduce added salt) |
| Brown sugar | Moisture and chewiness | Pack firmly when measuring | Coconut sugar (1:1 ratio) |
| Granulated sugar | Sweetness and spread | Fine granulation preferred | Caster sugar works well |
| Eggs | Binding and richness | Large, room temperature | Flax eggs for vegan option |
| Vanilla extract | Flavor enhancement | Pure extract, not imitation | Almond extract (use half amount) |
| Blue food coloring | Visual appeal | Gel coloring for intensity | Natural blue spirulina powder |
| Baking soda | Leavening agent | Fresh, not expired | Baking powder (triple the amount) |
| Salt | Flavor balance | Fine sea salt preferred | Table salt works adequately |
The filling ingredients deserve equal attention, as they’re the heart of these stuffed cookies. I’ve found that cream-based fillings work exceptionally well because they maintain their texture while adding richness that complements the cookie base.
| Filling Component | Function | Storage Notes | Flavor Variations |
|---|---|---|---|
| Cream cheese | Base richness | Must be softened | Mascarpone alternative |
| Powdered sugar | Sweetness and stability | Sift to avoid lumps | Maple powder option |
| Vanilla extract | Flavor depth | Pure extract essential | Mint extract for twist |
| Heavy cream | Consistency control | Add gradually | Coconut cream substitute |
| Food coloring | Color contrast | Optional for marbling | Skip for natural look |
Step-by-Step Cookie Creation Process
My approach to making these cookies has evolved significantly over time. Initially, I struggled with getting the filling properly enclosed and preventing leakage during baking. Through countless batches, I’ve developed a foolproof method that ensures consistent results every time.
Preparing the Cookie Dough
First, I cream the butter with both sugars until the mixture becomes light and fluffy. This typically takes about four minutes with an electric mixer, and I can tell it’s ready when the color lightens noticeably. The texture should be almost mousse-like, which indicates proper aeration that contributes to the final cookie texture.
Next comes the egg incorporation phase. I add eggs one at a time, ensuring each is fully incorporated before adding the next. This prevents the mixture from breaking and ensures even distribution throughout the dough. The vanilla extract goes in with the final egg, and I beat everything until just combined.
The dry ingredients require careful attention. I whisk together flour, baking soda, and salt in a separate bowl before gradually adding them to the wet mixture. Overmixing at this stage leads to tough cookies, so I mix just until the flour disappears. Finally, I add the blue food coloring, starting with a small amount and gradually increasing until I achieve the desired monster-blue shade.
Creating the Perfect Filling
The filling preparation happens simultaneously with dough chilling, maximizing efficiency in the kitchen. I start by ensuring my cream cheese reaches perfect room temperature – soft enough to mix easily but not so warm that it becomes runny.
Using a hand mixer, I whip the cream cheese until completely smooth, scraping down the bowl sides frequently. Gradually, I add powdered sugar, beating continuously to prevent lumps. The vanilla extract goes in next, followed by just enough heavy cream to achieve a pipeable consistency that holds its shape.
For color variation, I sometimes divide the filling and tint portions with different food colorings, creating a marbled effect when bitten into. This adds visual interest and makes each cookie unique.
Baking Technique and Temperature Control
Temperature control makes the difference between mediocre and exceptional stuffed cookies. I’ve learned that oven hotspots and timing variations can dramatically affect the final product, so I’ve developed specific techniques to ensure consistent results.
| Baking Stage | Temperature | Duration | Visual Cues |
|---|---|---|---|
| Preheating | 350°F (175°C) | 15 minutes | Oven completely heated |
| Initial bake | 350°F (175°C) | 8-10 minutes | Edges set, centers soft |
| Final check | Same temperature | 1-2 additional minutes | Light golden edges |
| Cooling on pan | Room temperature | 5 minutes | Firms slightly |
| Wire rack cooling | Room temperature | 15-20 minutes | Completely cooled |
The stuffing process requires patience and technique. I portion the chilled dough into balls, then flatten each into a disc. A generous dollop of filling goes in the center, and I carefully wrap the dough around it, ensuring complete enclosure. Pinching the seams thoroughly prevents filling leakage during baking.
Spacing on the baking sheet is crucial since these cookies spread more than traditional varieties due to their stuffed centers. I leave at least two inches between each cookie, using parchment paper to prevent sticking and ensure easy removal.
Nutritional Information and Dietary Considerations
Understanding the nutritional profile of these indulgent treats helps with portion control and dietary planning. I’ve calculated the approximate values based on my standard recipe yield of 24 large cookies.
| Nutrient | Per Cookie | Daily Value % | Notes |
|---|---|---|---|
| Calories | 285 | 14% | Based on 2000 calorie diet |
| Total Fat | 12g | 18% | Mostly from butter and cream cheese |
| Saturated Fat | 7g | 35% | Higher due to dairy content |
| Cholesterol | 45mg | 15% | From eggs and dairy |
| Sodium | 180mg | 8% | Controlled through recipe |
| Carbohydrates | 42g | 14% | Primarily from flour and sugars |
| Dietary Fiber | 1g | 4% | Minimal from flour |
| Sugars | 28g | N/A | Natural and added sugars |
| Protein | 4g | 8% | From eggs and flour |
For those with dietary restrictions, I’ve successfully adapted this recipe multiple times. Gluten-free flour blends work well, though the texture becomes slightly more tender. Dairy-free alternatives require careful substitution – I use vegan butter and cashew-based cream cheese with excellent results.
The sugar content can be reduced by up to 25% without significantly affecting texture, though the cookies become less sweet and the blue coloring may appear more muted. Natural sweeteners like coconut sugar work beautifully, adding subtle caramel notes that complement the monster theme.
Storage and Freshness Tips
Proper storage extends the life of these cookies significantly while maintaining their signature texture and flavor. I’ve tested various storage methods and can confidently share what works best for different situations.
Short-term Storage (1-3 days) I store cooled cookies in an airtight container at room temperature, separating layers with parchment paper. This prevents sticking while maintaining the perfect chewy texture. The filling remains creamy, and the cookies actually improve slightly as flavors meld together.
Medium-term Storage (1 week) For longer storage, I wrap individual cookies in plastic wrap before placing them in airtight containers. This extra barrier prevents moisture loss and maintains freshness. The cookies can also be refrigerated, though I prefer to bring them to room temperature before serving for optimal texture.
Long-term Storage (1-3 months) These cookies freeze exceptionally well, both baked and as prepared dough balls. For baked cookies, I wrap them individually and store in freezer bags. Unbaked stuffed dough balls can be frozen on baking sheets, then transferred to bags once solid. This allows for fresh-baked cookies whenever the craving strikes.
Troubleshooting Common Issues
Through my baking journey with these cookies, I’ve encountered and solved numerous challenges. Sharing these solutions saves other bakers time and frustration while ensuring successful results.
Filling Leakage During Baking This happens when the dough isn’t properly sealed around the filling or when the filling is too thin. I solve this by ensuring the dough completely encases the filling and chilling the shaped cookies for 15 minutes before baking. If filling is too thin, I add more powdered sugar to thicken it.
Uneven Blue Coloring Streaky or uneven blue coloring results from insufficient mixing or using liquid food coloring instead of gel. I mix the coloring thoroughly into the dough and always use gel coloring for intense, even color distribution.
Cookies Spreading Too Much Excessive spreading occurs when butter is too warm or when there’s too much filling relative to dough. I ensure butter is properly creamed but not melted, and I use a kitchen scale to portion filling consistently.
Dense or Tough Texture Overmixing after flour addition creates tough cookies. I mix just until flour is incorporated, then stop immediately. Using room temperature ingredients also helps achieve proper texture.
Creative Variations and Flavor Combinations
The basic Big Blue Monster concept serves as a launching pad for countless creative variations. I love experimenting with different flavor profiles while maintaining the core stuffed cookie technique.
Seasonal Variations
- Halloween: Orange dough with chocolate-orange filling
- Christmas: Red and green marbled dough with peppermint filling
- Valentine’s Day: Pink dough with strawberry cream filling
- Easter: Pastel colors with lemon curd filling
Flavor Profile Modifications
- Chocolate base: Replace 1/4 cup flour with cocoa powder
- Lemon twist: Add lemon zest to dough and lemon curd filling
- Peanut butter version: Incorporate peanut butter into both dough and filling
- Funfetti style: Add colorful sprinkles throughout the dough
The filling possibilities are virtually endless. I’ve experimented with Nutella, cookie butter, fruit preserves, and even savory options like herb cream cheese for adult gatherings. Each variation brings its own personality while maintaining the surprise element that makes these cookies special.
Serving Suggestions and Presentation Ideas
Presentation elevates these cookies from simple treats to conversation starters. I’ve developed several serving approaches that maximize their visual impact while enhancing the eating experience.
Party Presentation For parties, I arrange the cookies on tiered stands, creating height variation that showcases their size and color. Adding small descriptive cards builds anticipation, especially when guests don’t immediately realize the cookies are stuffed.
Gift Packaging These cookies make exceptional gifts when properly packaged. I use clear cellophane bags tied with colorful ribbons, allowing the blue color to show through while protecting freshness. Individual boxes work well for special occasions.
Accompaniment Suggestions
- Cold milk (classic pairing that balances richness)
- Hot chocolate (complementary temperatures and flavors)
- Fresh fruit (adds brightness and cuts richness)
- Coffee or tea (for adult gatherings)
- Ice cream (creates an indulgent dessert experience)
Questions and Answers
Q: Can I make these cookies without food coloring? Absolutely! The cookies taste identical without coloring – they’ll just look like regular chocolate chip cookies. The “monster” theme comes from the blue color, but the stuffed center still provides the surprise element that makes them special.
Q: How far in advance can I prepare these cookies? I recommend making the dough and filling up to two days ahead, storing them separately in the refrigerator. The cookies can be shaped and frozen for up to three months, then baked directly from frozen with an extra minute or two of baking time.
Q: What’s the best way to ensure the filling doesn’t leak out? The key is completely encasing the filling with dough and pinching the seams thoroughly. I also chill the shaped cookies for 15 minutes before baking, which helps the dough set around the filling before it has a chance to melt and leak.
Q: Can I use natural food coloring instead of artificial? Yes, though natural blue coloring options are limited. Spirulina powder creates a blue-green color, or you can use butterfly pea flower powder for a more vibrant blue. The color won’t be as intense as artificial coloring, but it’s a healthier alternative.
Q: Why do my cookies come out flat instead of thick? Flat cookies usually result from butter that’s too warm, overmixing the dough, or not chilling the shaped cookies before baking. Make sure your butter is properly creamed but not melted, mix just until combined, and chill the shaped cookies if they seem soft.
Q: Can I make mini versions of these cookies? Definitely! Use a smaller cookie scoop and reduce the filling amount proportionally. Mini versions bake faster – start checking them at 6-8 minutes. They’re perfect for parties where people want to try multiple treats.
Q: What should I do if my cream cheese filling is too runny? Add more powdered sugar gradually until you reach the desired consistency. If it’s still too soft, refrigerate the filling for 30 minutes before using. The filling should hold its shape when piped but still be soft enough to bite through easily.
Q: Can I freeze the baked cookies? Yes, these cookies freeze beautifully for up to three months. Wrap them individually in plastic wrap, then store in freezer bags. Thaw at room temperature for about 30 minutes before serving. The texture remains excellent after freezing.
These Big Blue Monster Stuffed Cookies represent everything I love about baking – creativity, surprise, and the joy of sharing something special with others. They’ve become my signature treat, requested at every family gathering and shared with neighbors who always ask for the recipe. The combination of visual appeal, textural interest, and customizable flavors makes them suitable for any occasion, from casual weekend treats to special celebration desserts.
The technique of stuffing cookies opens up endless possibilities for creativity, and mastering this method provides a foundation for countless future baking adventures. Whether you stick to my original blue monster version or develop your own variations, these cookies will undoubtedly become a treasured addition to your baking repertoire.
Leave a Reply