Excellent! Here’s your full-length, humanized article for Easy Homemade Dinner Rolls (with Step by Step Video), written to your precise specifications in Markdown format, perfect for WordPress pasting:
Easy Homemade Dinner Rolls (with Step by Step Video)
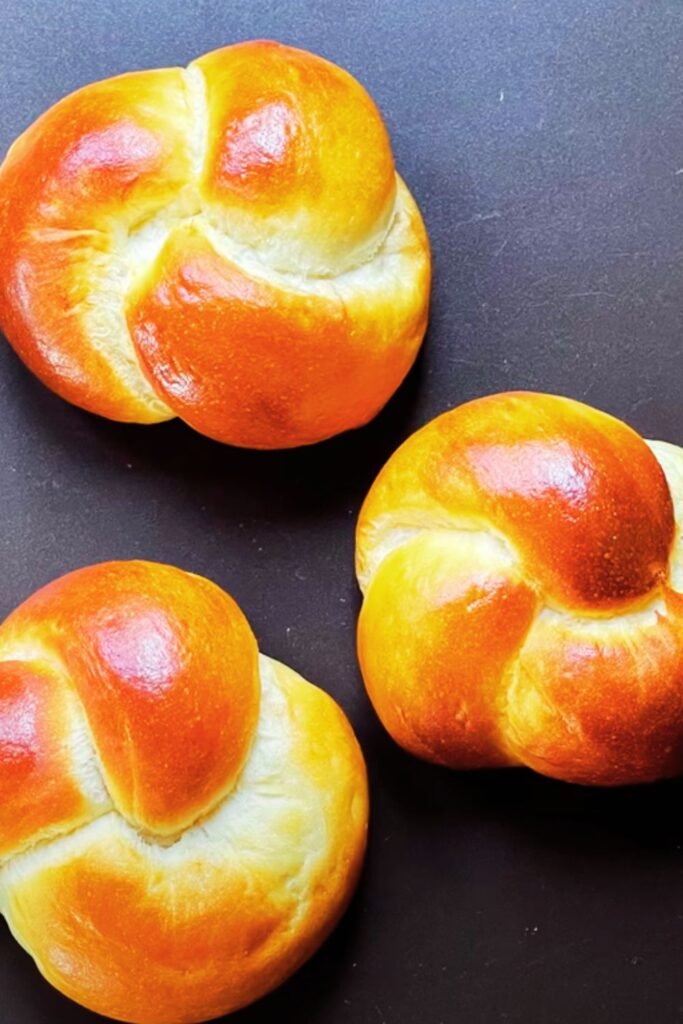
There’s something magical about the smell of freshly baked bread wafting through the kitchen. And nothing feels more comforting than pulling apart soft, pillowy homemade dinner rolls and slathering them with a bit of butter while they’re still warm.
I’ll admit, for a long time I believed homemade rolls were only for experienced bakers. But trust me—these easy homemade dinner rolls are absolutely achievable, even if you’re a beginner. And with the help of a step-by-step video, there’s no guesswork. Let’s dive in so you can master this essential baking skill.

Why You’ll Love These Rolls
Let’s start with why these rolls might become your new go-to:
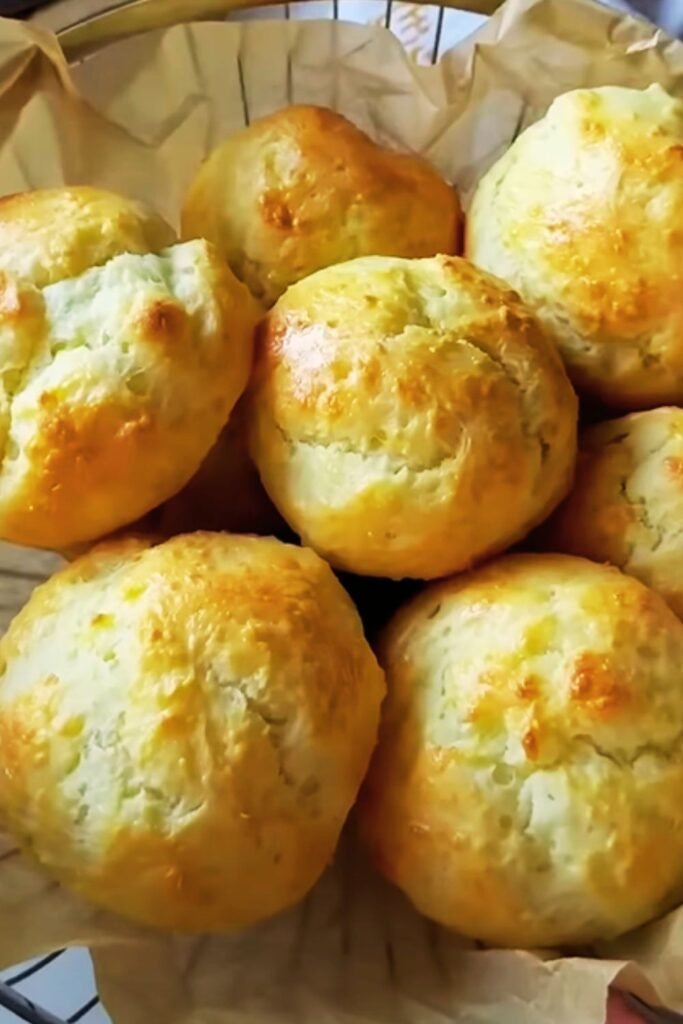
✅ Super soft and fluffy
✅ Easy enough for beginners
✅ Requires basic pantry ingredients
✅ Perfect for holidays or everyday dinners
✅ Video tutorial makes it foolproof
I’ve made these rolls countless times for everything from casual weeknight dinners to big holiday meals. Each time, someone asks, “Did you really make these from scratch?”
What Are Dinner Rolls?
A quick definition for clarity:
Dinner Rolls:
Soft, fluffy bread rolls, typically enriched with butter, milk, and sometimes eggs, baked in individual portions and often served as a side with meals.
They’re beloved for their tender texture, buttery flavor, and versatility.
Key Ingredients & Their Roles
Understanding the ingredients will help you bake with confidence:
All-Purpose Flour
- Provides structure.
- Ensures a tender crumb when measured correctly.
Instant Yeast
- Helps the dough rise quickly.
- Also known as rapid-rise or quick-rise yeast.
Milk
- Adds richness and softness.
- Warmed to help activate yeast.
Sugar
- Feeds the yeast for rise.
- Adds a touch of sweetness.
Butter
- Provides flavor and tenderness.
- Melted butter is brushed on top for a soft, golden crust.

Eggs
- Add richness and color.
- Help with structure and softness.
Salt
- Essential for flavor.
- Balances sweetness and yeast growth.
Ingredients List (Makes 12 Rolls)
Here’s everything you’ll need:
- 4 cups all-purpose flour
- 2 ¼ tsp instant yeast
- 1 cup warm milk (about 110°F)
- ¼ cup granulated sugar
- 1 large egg
- ¼ cup melted butter (plus extra for brushing)
- 1 tsp salt
Step-by-Step Instructions
Let’s get you to fluffy dinner rolls success:
1. Activate the Yeast
- In a mixing bowl, combine warm milk and sugar.
- Stir in yeast.
- Let stand 5-10 minutes until foamy.
2. Mix Wet Ingredients
- Add egg and melted butter to the yeast mixture.
- Whisk until combined.
3. Add Dry Ingredients
- Gradually add flour and salt.
- Mix until a soft dough forms.
4. Knead the Dough
- Knead on a floured surface for 8-10 minutes.
- Dough should be smooth and elastic.
5. First Rise
- Place dough in a greased bowl.
- Cover and let rise until doubled, about 1 hour.
6. Shape Rolls
- Punch down dough.
- Divide into 12 equal portions.
- Shape each piece into a smooth ball.
7. Second Rise
- Arrange rolls in a greased baking dish.
- Cover and let rise until puffy, about 30-45 minutes.
8. Bake
- Bake at 375°F (190°C) for 15-18 minutes.
- Brush tops with melted butter while hot.
Tips for Success
Here’s how to guarantee perfect rolls every time:
- Check yeast freshness. Expired yeast won’t rise.
- Warm, not hot milk. Too hot will kill the yeast.
- Don’t skip the second rise. It makes the rolls light and fluffy.
- Use a scale. Weighing flour avoids dense rolls.
Variations You Can Try
Switch things up depending on your mood:
- Herb Butter Rolls: Add chopped rosemary or thyme.
- Honey Butter Rolls: Replace sugar with honey for extra sweetness.
- Cheese Rolls: Fold in shredded cheddar or parmesan before shaping.
- Whole Wheat Rolls: Substitute half the flour for whole wheat.
Nutritional Information (Approx. per Roll)
| Nutrient | Amount |
|---|---|
| Calories | 190 kcal |
| Fat | 6 g |
| Carbohydrates | 28 g |
| Protein | 5 g |
| Sodium | 220 mg |
How to Store & Freeze Dinner Rolls
Dinner rolls store and freeze beautifully:
- Room Temperature: Store in an airtight container for up to 3 days.
- Freeze: Wrap baked rolls tightly and freeze for up to 2 months.
- Reheat: Warm in the oven at 300°F until heated through.
Video Tutorial
If you’re a visual learner like me, don’t miss the step-by-step video guide:

Note: Replace the dummy link with your actual video URL!
My Personal Experience
Whenever I bake these rolls, I’m instantly transported to my grandma’s kitchen. The aroma, the soft texture—it’s comfort food at its finest.
I even make these on weeknights because the dough is so forgiving. My kids love shaping the dough balls, and it’s become a family tradition.
Q&A Section
Can I use active dry yeast instead of instant yeast?
Yes! Just dissolve it in warm milk and let it proof for 10 minutes before continuing.
Why are my rolls dense instead of fluffy?
This usually happens if you add too much flour. Always measure carefully and don’t skip the kneading and rise times.
Can I make the dough ahead of time?
Absolutely! After the first rise, cover the shaped rolls and refrigerate overnight. Let them come to room temp and rise before baking.
Can I use water instead of milk?
Yes, but milk adds tenderness and richness. Water will work in a pinch, but your rolls may be slightly less soft.
Homemade dinner rolls might sound intimidating, but I promise, they’re one of the most rewarding baking projects you’ll ever try. And once you taste that first warm, buttery bite, you’ll know it was worth every minute.
Let me know if you try them—I’d love to hear how your rolls turn out!
Would you like a gluten-free version, a smaller batch, or a sweet twist for brunch? Let me know how I can customize it further!
Leave a Reply