Easy Chicken Schnitzel Recipe: The Perfect Golden Crispy Delight
When I first attempted to make chicken schnitzel at home, I thought it would be complicated and messy. Boy, was I wrong! This beloved dish from Austria and Germany has become one of my go-to recipes for weeknight dinners and special occasions alike. The combination of tender, juicy chicken breast encased in a perfectly golden, crispy coating is simply irresistible.
What makes this recipe truly special is its simplicity. You don’t need fancy equipment or hard-to-find ingredients. With just a few pantry staples and some basic techniques, you’ll create restaurant-quality chicken schnitzel that will have your family asking for seconds.
What is Chicken Schnitzel?
Schnitzel: A traditional dish consisting of meat that has been pounded thin, breaded, and fried until golden brown and crispy.
Chicken Schnitzel: The poultry variation of the classic Austrian dish, typically made with chicken breast that’s been flattened, coated in breadcrumbs, and pan-fried to perfection.
Wiener Schnitzel: The original version made with veal, though chicken has become a popular and more affordable alternative.
The beauty of chicken schnitzel lies in its versatility and crowd-pleasing nature. I’ve served this dish to picky eaters and food enthusiasts alike, and it never fails to impress. The key is achieving that perfect balance between a crispy exterior and a moist, tender interior.
Essential Ingredients for Perfect Chicken Schnitzel
Creating the perfect chicken schnitzel requires attention to both the protein and the coating. Here’s what you’ll need:
Main Ingredients
| Ingredient | Quantity | Purpose | Quality Tips |
|---|---|---|---|
| Chicken Breasts | 4 large pieces (6-8 oz each) | Main protein | Choose organic, free-range for best flavor |
| All-Purpose Flour | 1 cup | First coating layer | Sift for smoother application |
| Large Eggs | 3 eggs | Binding agent | Room temperature works best |
| Fine Breadcrumbs | 2 cups | Crispy outer coating | Panko or homemade preferred |
| Vegetable Oil | 1-2 cups | Frying medium | Neutral oils like canola work well |
| Salt | 2 teaspoons | Seasoning | Sea salt or kosher salt recommended |
| Black Pepper | 1 teaspoon | Flavor enhancement | Freshly ground preferred |
| Lemon | 2 large lemons | Serving accompaniment | Choose firm, heavy lemons |
Optional Flavor Enhancers
| Addition | Amount | Purpose |
|---|---|---|
| Paprika | 1 tablespoon | Color and mild flavor |
| Garlic Powder | 1 teaspoon | Aromatic depth |
| Dried Herbs | 1 tablespoon | Mediterranean flavor |
| Parmesan Cheese | ½ cup grated | Rich, savory coating |
The quality of your ingredients directly impacts the final result. I always recommend using fresh chicken breasts rather than frozen ones, as they maintain better texture during the pounding process.
Step-by-Step Preparation Method
Preparing the Chicken
- Remove the chicken from refrigeration 30 minutes before cooking to bring to room temperature
- Place each chicken breast between two sheets of plastic wrap or parchment paper
- Using a meat mallet or rolling pin, gently pound the chicken to an even ¼-inch thickness
- Season both sides generously with salt and pepper
- Let the seasoned chicken rest for 10 minutes to allow flavors to penetrate
The pounding technique is crucial for even cooking. I’ve learned that starting from the center and working outward prevents tearing. Don’t be too aggressive – gentle, consistent pressure works best.
Setting Up Your Breading Station
Creating an efficient breading station makes the process smooth and less messy:
- Station 1: Seasoned flour in a shallow dish
- Station 2: Beaten eggs with a splash of milk in a wide bowl
- Station 3: Seasoned breadcrumbs in another shallow dish
- Station 4: Clean plate for breaded cutlets
The Three-Step Breading Process
Flour Coating: Lightly dust each chicken piece with seasoned flour, shaking off excess. This creates a foundation for the egg to adhere properly.
Egg Wash: Dip the floured chicken into the beaten eggs, ensuring complete coverage. Allow excess to drip off briefly.
Breadcrumb Coating: Press the chicken firmly into the breadcrumbs, coating both sides thoroughly. Gently shake off loose crumbs.
I always use one hand for dry ingredients and the other for wet ingredients to prevent creating a gummy mess on my fingers.
Cooking Instructions
Pan-Frying Method (Recommended)
| Step | Temperature | Time | Visual Cue |
|---|---|---|---|
| Heat oil | Medium-high (350°F) | 2-3 minutes | Oil shimmers but doesn’t smoke |
| First side | Medium-high | 3-4 minutes | Golden brown color |
| Flip | Medium | 3-4 minutes | Internal temp 165°F |
| Rest | Off heat | 2 minutes | Juices redistribute |
Detailed Cooking Process:
- Heat oil in a large skillet to approximately 350°F (175°C)
- Carefully place the breaded chicken in the hot oil without overcrowding
- Cook for 3-4 minutes on the first side without moving the pieces
- Flip once when the bottom is golden brown and crispy
- Continue cooking for 3-4 minutes until the internal temperature reaches 165°F
- Transfer to a paper towel-lined plate to drain excess oil
The oil temperature is critical. Too hot, and the coating burns before the chicken cooks through. Too cool, and you’ll end up with greasy, soggy schnitzel.

Alternative Cooking Methods
Oven-Baked Version: Preheat oven to 425°F, place on a wire rack over a baking sheet, and bake for 15-20 minutes, flipping halfway through.
Air Fryer Method: Cook at 400°F for 8-10 minutes, flipping once halfway through.
While these methods produce good results, I still prefer traditional pan-frying for the superior texture and flavor it provides.
Pro Tips for Restaurant-Quality Results
Through years of making schnitzel, I’ve discovered several techniques that elevate this dish from good to exceptional:
Texture Perfection
- Double-bread for extra crunch: After the initial breading, dip again in egg and breadcrumbs
- Let breaded chicken rest: Allow 15 minutes in the refrigerator before cooking
- Use fresh breadcrumbs: Make your own from day-old bread for superior texture
- Maintain oil temperature: Use a thermometer to keep oil at 350°F consistently
Flavor Enhancement
- Season every layer: Add herbs and spices to flour, egg wash, and breadcrumbs
- Don’t skip the lemon: Fresh lemon juice brightens the rich, fried coating
- Consider compound butter: Herb butter melting over hot schnitzel is divine
Common Mistakes to Avoid
Overcrowding the pan: This lowers oil temperature and creates soggy coating Moving the chicken too early: Let it develop a proper crust before flipping Skipping the rest period: Pounded chicken needs time to relax before breading Using cold chicken: Room temperature chicken cooks more evenly
Nutritional Information and Variations
Basic Nutritional Profile (Per Serving)
| Nutrient | Amount | Daily Value % |
|---|---|---|
| Calories | 485 | 24% |
| Protein | 45g | 90% |
| Carbohydrates | 28g | 9% |
| Fat | 22g | 34% |
| Sodium | 680mg | 30% |
| Fiber | 2g | 8% |
Healthier Variations
Baked Chicken Schnitzel: Reduces calories by approximately 150 per serving while maintaining most of the flavor and texture.
Almond-Crusted Version: Replace breadcrumbs with finely ground almonds for a low-carb, gluten-free alternative.
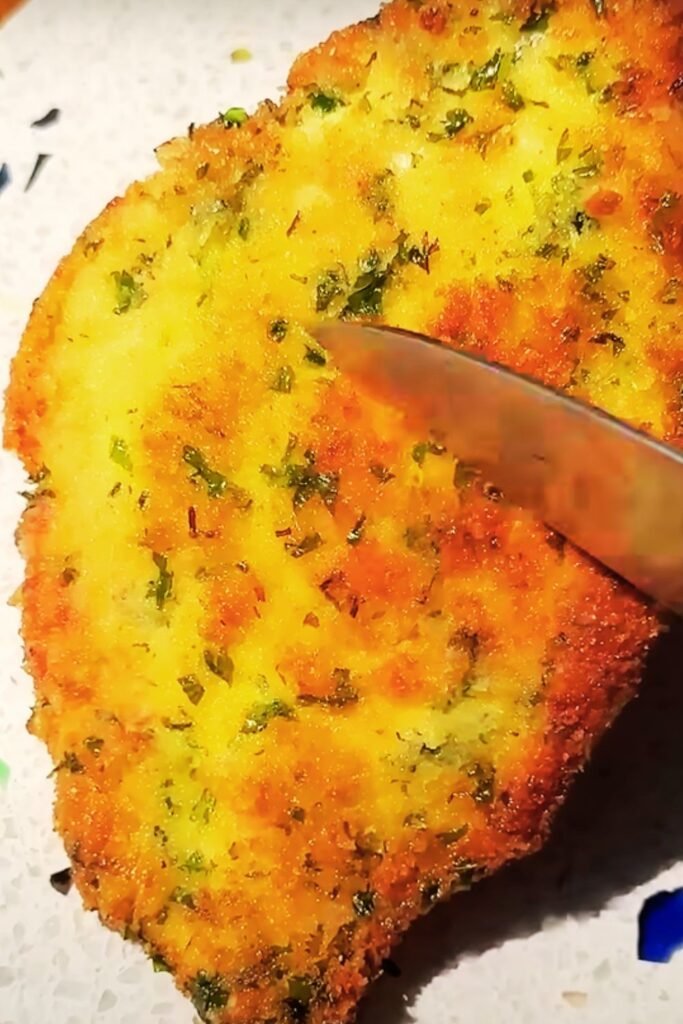
Herb-Infused Coating: Add fresh herbs like parsley, thyme, and oregano to boost antioxidant content.
International Variations
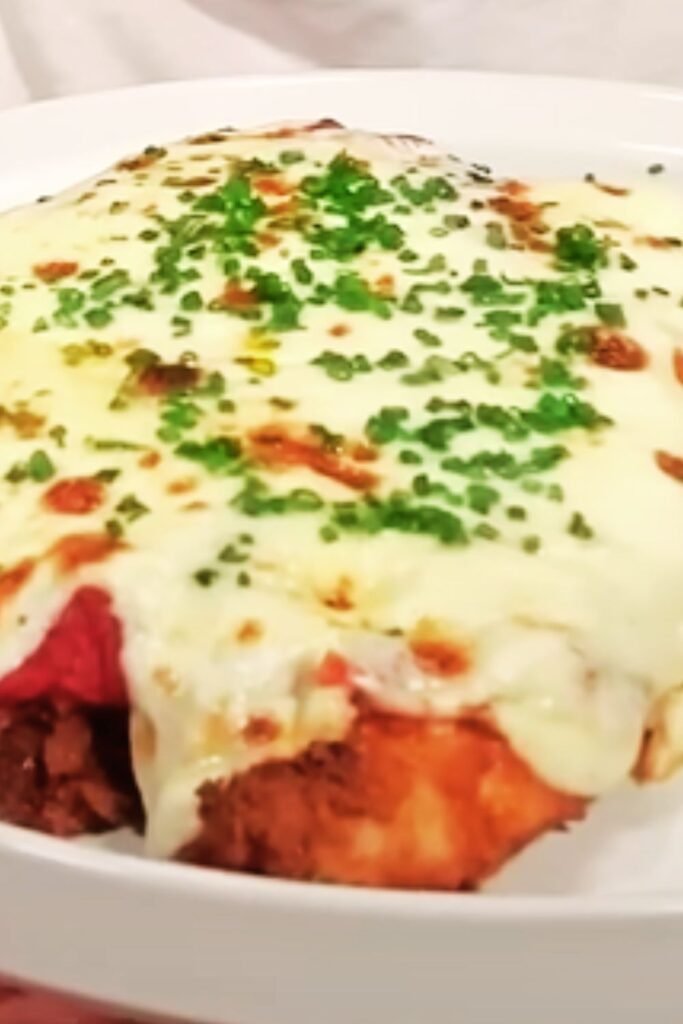
Italian-Style (Cotoletta): Add grated Parmesan cheese to the breadcrumbs and serve with arugula salad.
Japanese-Inspired: Use panko breadcrumbs exclusively and serve with tonkatsu sauce.
German Traditional: Serve with sauerkraut and boiled potatoes for an authentic experience.
Perfect Side Dishes and Serving Suggestions
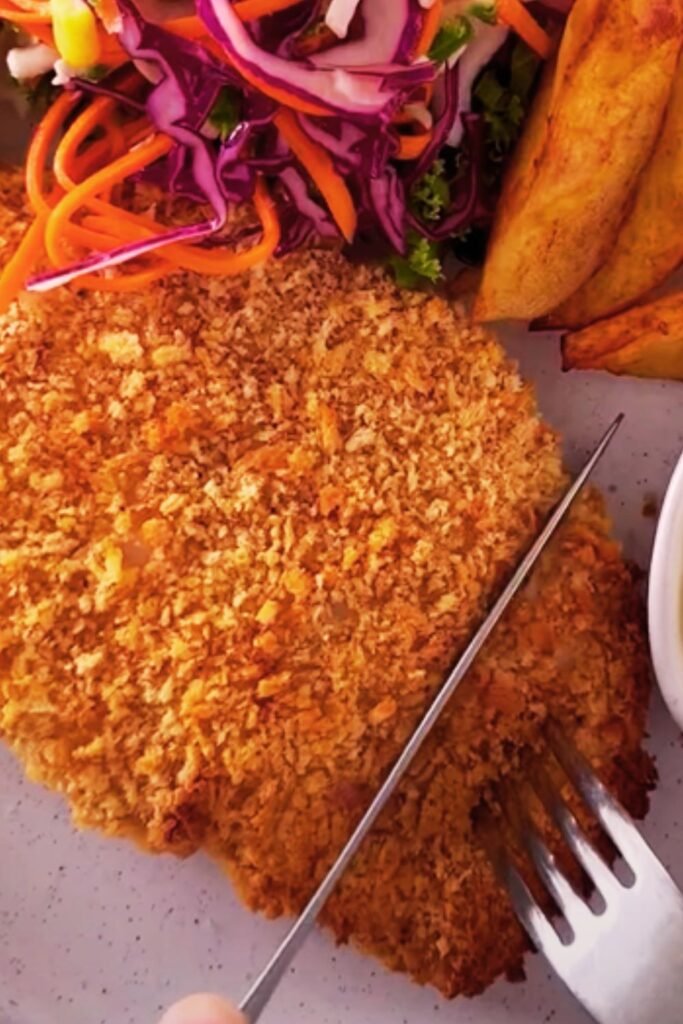
The beauty of chicken schnitzel lies in its versatility when it comes to accompaniments. I’ve experimented with numerous combinations over the years, and here are my favorites:
Traditional European Accompaniments
German-Style Potato Salad: The tangy, vinegar-based dressing cuts through the richness of the fried chicken beautifully. I prepare mine with red potatoes, fresh dill, and a mustard vinaigrette.
Spaetzle: These small German dumplings absorb the flavors wonderfully and provide a comforting, carb-heavy base.
Red Cabbage: The slight sweetness and acidity complement the crispy chicken perfectly.
Fresh and Light Options
Mixed Green Salad: A simple salad with cucumber, tomatoes, and a light lemon vinaigrette balances the richness of the schnitzel.
Roasted Vegetables: Seasonal vegetables like asparagus, bell peppers, or zucchini add color and nutrition to the plate.
Cucumber Salad: The cool, crisp texture provides a refreshing contrast to the hot, crispy chicken.
Comfort Food Pairings
Mashed Potatoes: Creamy potatoes with butter and herbs create the ultimate comfort food combination.
Rice Pilaf: A lighter starch option that won’t compete with the schnitzel’s flavors.
Roasted Potatoes: Crispy on the outside, fluffy inside – they echo the schnitzel’s texture profile.
Storage and Reheating Guidelines
Proper Storage Methods
| Storage Method | Duration | Temperature | Container Type |
|---|---|---|---|
| Refrigerator | 3-4 days | 40°F or below | Airtight container |
| Freezer | 2-3 months | 0°F or below | Freezer-safe bag |
| Room Temperature | 2 hours max | Below 90°F | Covered plate |
Reheating for Best Results
I’ve tried numerous reheating methods, and here’s what works best:
Oven Method (Recommended): Preheat to 375°F, place schnitzel on a wire rack over a baking sheet, and heat for 8-10 minutes. This method best preserves the crispy coating.
Air Fryer: Heat at 350°F for 3-4 minutes. Quick and effective for maintaining crispiness.
Stovetop: Heat a small amount of oil in a skillet over medium heat and warm for 2-3 minutes per side.
Avoid the Microwave: This method creates soggy coating and should be avoided unless you’re in a real hurry.
Troubleshooting Common Issues
Throughout my schnitzel-making journey, I’ve encountered and solved numerous problems:
Soggy Coating Solutions
Cause: Usually results from oil temperature being too low or overcrowding the pan. Solution: Use a thermometer to maintain 350°F and cook in batches.
Dry Chicken Interior
Cause: Overcooking or starting with chicken that’s too thick. Solution: Pound to even ¼-inch thickness and use a meat thermometer.
Coating Falls Off
Cause: Insufficient resting time or improper breading technique. Solution: Let breaded chicken rest 15 minutes before cooking and ensure each coating layer adheres properly.
Uneven Browning
Cause: Inconsistent oil temperature or moving the chicken too early. Solution: Maintain steady heat and resist the urge to flip too soon.
Frequently Asked Questions
Q: Can I prepare chicken schnitzel ahead of time? Yes, you can bread the chicken up to 4 hours in advance and refrigerate. This actually improves the coating’s adherence. However, I recommend cooking just before serving for the best texture.
Q: What’s the best oil for frying schnitzel? I prefer neutral oils with high smoke points like vegetable oil, canola oil, or peanut oil. Avoid olive oil as it has a lower smoke point and can impart unwanted flavors.
Q: How do I know when the oil is ready? The oil should reach 350°F (175°C). If you don’t have a thermometer, drop a small piece of bread into the oil – it should sizzle and turn golden brown within 30 seconds.
Q: Can I use chicken thighs instead of breasts? Absolutely! Boneless, skinless chicken thighs work wonderfully and often stay more moist than breasts. The cooking time might increase slightly due to higher fat content.
Q: Is it necessary to pound the chicken? Yes, pounding ensures even cooking and creates the traditional thin profile that’s characteristic of authentic schnitzel. It also helps tenderize the meat.
Q: Can I make this recipe gluten-free? Certainly! Replace the all-purpose flour with rice flour or gluten-free flour blend, and use gluten-free breadcrumbs. The technique remains the same.
Q: What should I do if my breadcrumbs are getting too brown? Lower the heat immediately. Dark breadcrumbs often indicate the oil temperature is too high. Remove the pan from heat briefly to cool down if necessary.
Q: How can I make the coating extra crispy? Try double-breading: after the initial coating, dip again in egg wash and breadcrumbs. Also, letting the breaded chicken rest in the refrigerator for 15-30 minutes before cooking helps.
Q: Can I bake this instead of frying? Yes, though the texture will be different. Bake at 425°F on a wire rack for 15-20 minutes, flipping halfway through. Spray lightly with cooking oil for better browning.
Q: What’s the difference between schnitzel and chicken cutlet? While very similar, traditional schnitzel is pounded thinner and typically uses finer breadcrumbs. The cooking method and serving style also follow European traditions more closely.
This easy chicken schnitzel recipe has become a cornerstone of my cooking repertoire. The combination of simple techniques, readily available ingredients, and consistently delicious results makes it perfect for both novice and experienced home cooks. Whether you’re preparing a weeknight dinner for the family or impressing guests at a dinner party, this golden, crispy delight never fails to satisfy.
The key to success lies in attention to detail – from properly pounding the chicken to maintaining the correct oil temperature. With practice, you’ll develop the instincts to create perfectly crispy, golden schnitzel every time. Remember, cooking is about enjoying the process as much as the final result, so don’t be afraid to make this recipe your own with personal touches and flavor variations.
Leave a Reply