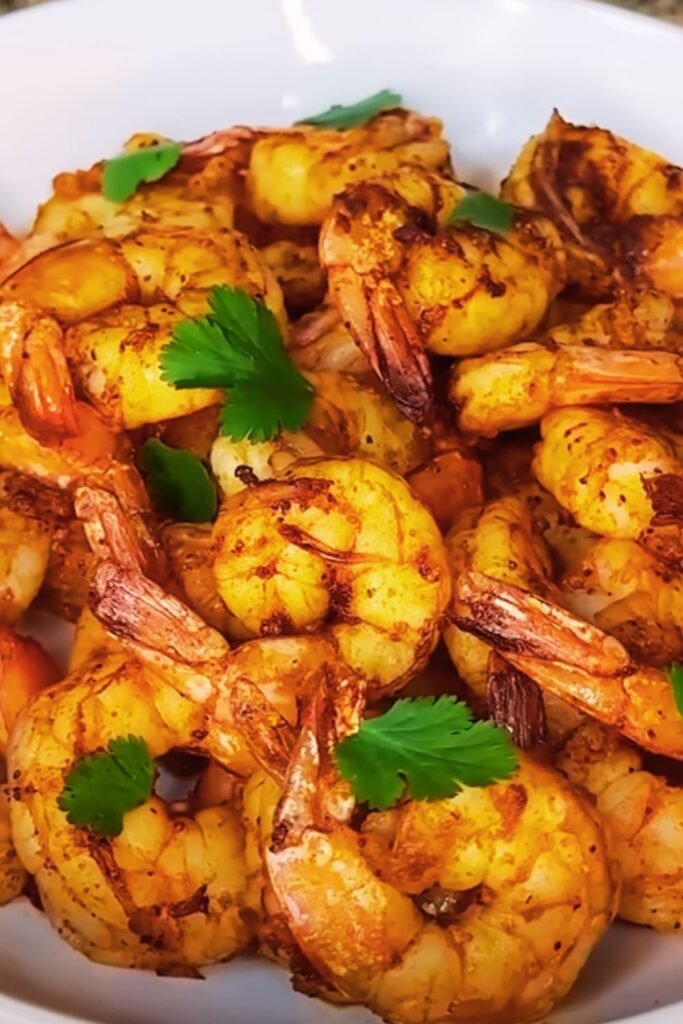
Have you ever craved restaurant-quality breaded shrimp but dreaded the mess and calories that come with deep frying? I’ve been there too! After countless experiments with different cooking methods, I’ve discovered that the air fryer is absolutely revolutionary for creating perfectly crispy breaded shrimp without the guilt. Today, I’m thrilled to share my foolproof recipe that delivers that satisfying crunch in just 15 minutes of cooking time.
As someone who prepares seafood at least twice weekly, I’ve refined this technique to ensure you get that golden exterior while maintaining juicy, tender shrimp inside. The air fryer circulates hot air around each piece, creating that coveted crispy coating without submerging your food in oil. It’s a game-changer for quick weeknight dinners or impressive appetizers when entertaining guests.
Why This Recipe Works
The magic of this recipe lies in its simplicity and science. By using panko breadcrumbs instead of regular breadcrumbs, we create more surface area for crisping. The double-dredging method ensures the coating adheres perfectly to each shrimp, preventing that disappointing moment when the breading falls off during cooking.
I’ve also discovered that a light spritz of oil helps achieve that golden-brown color we all crave, while still keeping the calorie count significantly lower than traditional frying methods. And perhaps most importantly, the cooking temperature and time have been precisely calibrated through dozens of tests to ensure your shrimp cook evenly without becoming rubbery.
Ingredients You’ll Need
For 4 servings (approximately 1 pound of shrimp):
For the Shrimp:
- 1 pound large shrimp (21-25 count), peeled and deveined with tails on
- 2 large eggs
- 2 tablespoons water
- 1½ cups panko breadcrumbs
- ½ cup all-purpose flour
- 1 teaspoon garlic powder
- 1 teaspoon paprika (sweet or smoked, depending on your preference)
- ½ teaspoon onion powder
- ½ teaspoon dried oregano
- ½ teaspoon salt
- ¼ teaspoon black pepper
- Olive oil spray or avocado oil spray
For the Dipping Sauce (Optional):
- ½ cup mayonnaise
- 2 tablespoons sweet chili sauce
- 1 tablespoon sriracha (adjust to your heat preference)
- 1 teaspoon lime juice
- ½ teaspoon garlic powder
Essential Equipment
- Air fryer (basket or oven style)
- 3 shallow bowls for the breading station
- Paper towels
- Cooking spray
- Kitchen tongs
- Instant-read thermometer (optional but helpful)
Preparation Method
Step 1: Prepare the Shrimp
I always start by ensuring my shrimp are properly cleaned and prepared. If you’re using frozen shrimp (as I often do), thaw them completely by placing them in a colander under cold running water for about 5 minutes. Once thawed:
- Pat the shrimp completely dry with paper towels. This is crucial for the breading to adhere properly.
- If your shrimp still have shells, peel them, leaving the tails intact if desired (I find the tails make excellent handles for dipping).
- Check for the dark vein running along the back of each shrimp and remove if present.
Pro Tip: I like to butterfly larger shrimp by making a deeper cut along the back when deveining. This creates more surface area for breading and results in a more impressive presentation.
Step 2: Set Up Your Breading Station
Creating an efficient breading station makes the process much smoother:
- In the first shallow bowl, combine the flour, ¼ teaspoon salt, ¼ teaspoon garlic powder, and ¼ teaspoon paprika. Mix thoroughly.
- In the second bowl, whisk together the eggs and water until completely blended.
- In the third bowl, combine the panko breadcrumbs with the remaining garlic powder, paprika, onion powder, oregano, salt, and pepper. Mix well.
Step 3: Bread the Shrimp
Now comes the fun part! The key to perfect breading is maintaining one “dry hand” and one “wet hand” throughout the process:
- Hold a shrimp by the tail and dredge in the flour mixture, shaking off any excess.
- Dip the floured shrimp into the egg wash, allowing excess to drip off.
- Finally, place it in the panko mixture and press gently to adhere the breadcrumbs to all sides.
- Place the breaded shrimp on a plate or baking sheet and repeat with remaining shrimp.
Pro Tip: For extra crispiness, I let the breaded shrimp rest for 5-10 minutes before air frying. This helps the coating set and results in less shedding during cooking.
Step 4: Preheat and Prepare the Air Fryer
Different air fryer models vary, but these principles work across all types:
- Preheat your air fryer to 375°F (190°C) for 3-5 minutes.
- Once heated, lightly spray the air fryer basket or tray with cooking spray to prevent sticking.
Step 5: Air Fry to Perfection
Proper arrangement in the air fryer is crucial for even cooking:
- Place the breaded shrimp in a single layer in the air fryer basket, making sure they don’t touch. Work in batches if necessary – overcrowding is the enemy of crispiness!
- Lightly spray the tops of the shrimp with olive oil or avocado oil spray.
- Cook for 5-6 minutes.
- Carefully flip each shrimp using tongs.
- Lightly spray the other side and continue cooking for another 5-6 minutes until golden brown and the internal temperature reaches 145°F.
Pro Tip: I check one shrimp at the 10-minute mark by cutting it open. The flesh should be opaque and white throughout with no translucent areas.
Step 6: Prepare the Dipping Sauce
While the shrimp are cooking, whip up this quick and flavorful dipping sauce:
- In a small bowl, combine all sauce ingredients.
- Whisk until smooth and well blended.
- Refrigerate until ready to serve.
Variation: For a lighter option, I sometimes swap the mayonnaise for Greek yogurt, which adds a pleasant tanginess to the sauce.
Serving Suggestions
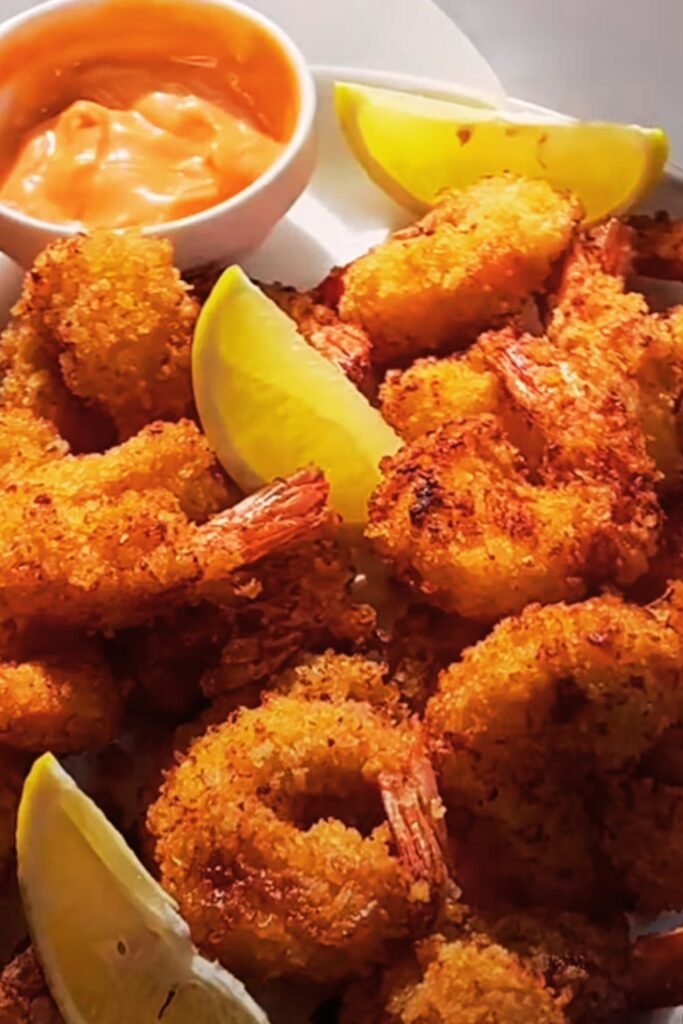
Once your shrimp are perfectly crispy and golden, serve them immediately for the best texture and flavor. Here are my favorite ways to enjoy this delicious creation:
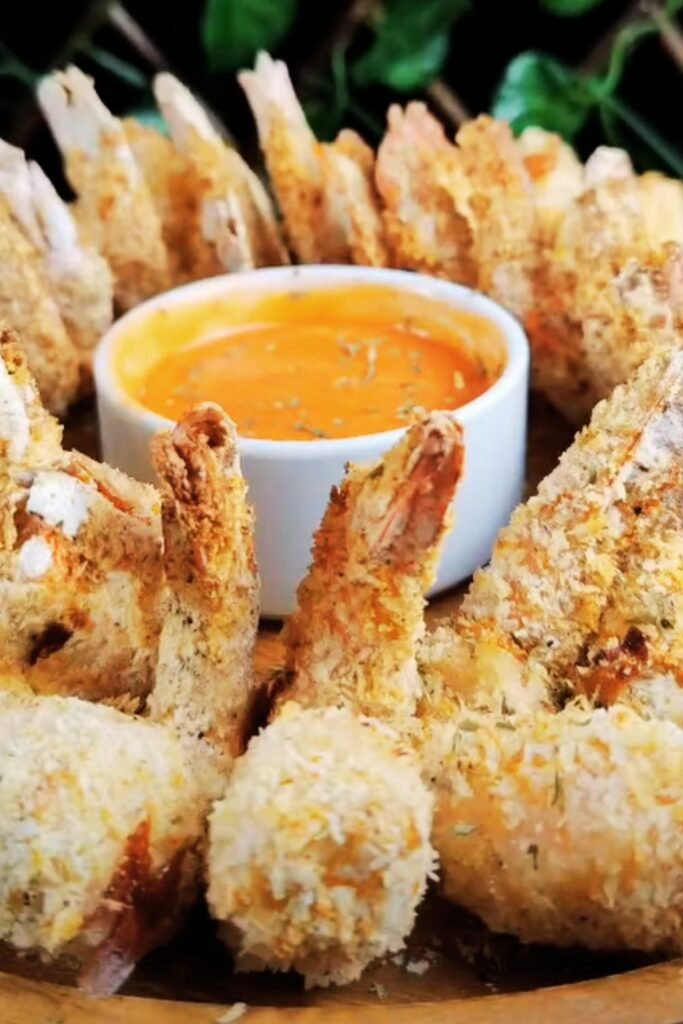
- As an appetizer with the spicy mayo dipping sauce and lemon wedges
- In tacos with shredded cabbage, avocado, and lime crema
- Atop a fresh salad with mixed greens and citrus vinaigrette
- In a po’ boy sandwich with remoulade sauce and lettuce
- As part of a seafood platter with air-fried vegetables and rice pilaf
Nutritional Information
I believe in making informed dietary choices, so here’s the approximate nutritional breakdown per serving (¼ of recipe, without dipping sauce):
| Nutrient | Amount | % Daily Value* |
|---|---|---|
| Calories | 320 | – |
| Total Fat | 8g | 10% |
| Saturated Fat | 1.5g | 8% |
| Cholesterol | 255mg | 85% |
| Sodium | 720mg | 31% |
| Total Carbohydrate | 32g | 12% |
| Dietary Fiber | 1.5g | 5% |
| Sugars | 1g | – |
| Protein | 28g | 56% |
| Vitamin D | 2mcg | 10% |
| Calcium | 80mg | 6% |
| Iron | 2mg | 11% |
| Potassium | 230mg | 5% |
*Percent Daily Values are based on a 2,000 calorie diet
Storage and Reheating Tips
While these shrimp are absolutely best when fresh from the air fryer, leftovers can be stored and revived with these methods:
Storage:
- Refrigerate in an airtight container for up to 2 days.
- Not recommended for freezing after cooking as the texture will suffer.
Reheating:
- Air fryer: 3-4 minutes at 350°F (175°C)
- Conventional oven: 8-10 minutes at 375°F (190°C) on a wire rack
- Avoid microwave reheating as it will make the breading soggy
Troubleshooting Common Issues
Even experienced cooks encounter challenges! Here are solutions to common problems:
Breading falls off during cooking:
- Ensure shrimp are completely dry before starting the breading process
- Press the breadcrumbs firmly onto the shrimp
- Let breaded shrimp rest for 5-10 minutes before air frying
- Spray with oil to help “seal” the coating
Shrimp not crispy enough:
- Cook in a single layer without overcrowding
- Make sure your air fryer is fully preheated
- Try a slightly higher temperature (385°F/196°C) for the last 2 minutes
- Use fresh panko breadcrumbs for maximum crunch
Shrimp overcooked/rubbery:
- Reduce cooking time by 1-2 minutes
- Check internal temperature earlier (aim for 145°F/63°C)
- Purchase larger shrimp which are more forgiving in cooking time
Recipe Variations to Try
Once you’ve mastered the basic recipe, get creative with these delicious variations I’ve developed:
Coconut Breaded Shrimp:
- Replace half the panko with unsweetened shredded coconut
- Add ¼ teaspoon ground ginger to the breading
- Serve with sweet Thai chili sauce for dipping
Parmesan Herb:
- Add ½ cup grated Parmesan cheese to the panko mixture
- Include 1 tablespoon Italian herb blend
- Serve with warm marinara sauce
Spicy Cajun:
- Replace regular spices with 2 teaspoons Cajun seasoning
- Add ¼ teaspoon cayenne pepper for extra heat
- Serve with remoulade sauce
Lemon Pepper:
- Add 1 tablespoon lemon zest to the panko mixture
- Increase black pepper to 1 teaspoon
- Serve with lemon aioli
Frequently Asked Questions
Q: Can I use frozen shrimp without thawing them first?
A: I don’t recommend it. Frozen shrimp contain excess moisture that will prevent proper browning and crisping. Additionally, the cooking time would be inconsistent, potentially leaving you with some overcooked and some undercooked shrimp. Taking the 5-10 minutes to thaw them properly will make a huge difference in your final result.
Q: Can I make these gluten-free?
A: Absolutely! I’ve had great success using gluten-free panko breadcrumbs and a one-to-one gluten-free flour blend as substitutes. The texture is nearly identical, and most guests can’t even tell the difference. Just verify that your other ingredients like spices are certified gluten-free if preparing for someone with celiac disease.
Q: What size shrimp works best for this recipe?
A: I prefer large shrimp (21-25 per pound) or extra-large (16-20 per pound) for this recipe. They provide the perfect ratio of breading to shrimp and cook evenly in the air fryer. Smaller shrimp tend to overcook quickly, while jumbo shrimp may need longer cooking times that can cause the breading to brown too much.
Q: How can I tell when the shrimp are perfectly cooked?
A: Perfectly cooked shrimp will form a “C” shape, turn pink and opaque, and reach an internal temperature of 145°F (63°C). If they curl into a tight “O” shape, they’re likely overcooked. When in doubt, cut one open – it should be opaque and white throughout with no translucent gray areas.
Q: Can I prepare these ahead of time for a party?
A: Yes, with some caveats. For the best results, I recommend breading the shrimp up to 4 hours ahead and storing them uncovered in the refrigerator. This actually helps the coating adhere better. Cook them just before serving for the optimal texture. If needed, you can cook them up to 30 minutes before serving and keep them warm in a 200°F (93°C) oven on a wire rack, though they won’t be quite as crispy as fresh from the air fryer.
Q: My air fryer is small. Can I stack the shrimp?
A: For the crispiest results, always cook in a single layer without overlapping. Working in batches takes more time but yields far superior results. If you absolutely must stack, shake the basket or rearrange the shrimp frequently during cooking, and expect to add 2-3 minutes to the total cooking time.
Q: What’s the best oil spray to use in an air fryer?
A: I prefer olive oil or avocado oil in a pump sprayer rather than commercial aerosol sprays, which can damage the non-stick coating in some air fryers. These oils have higher smoke points and neutral flavors that work well with the breading. If using a commercial spray, look for one without propellants or additives.
Q: Can I use this same technique for other seafood?
A: Definitely! I’ve successfully adapted this method for air frying breaded fish fillets (adjust cooking time to 12-14 minutes total, depending on thickness), scallops (reduce time to 8 minutes total), and even calamari rings (reduce to 6-7 minutes total). Just adjust the cooking time based on the thickness of your seafood.
Final Thoughts
Air fryer breaded shrimp has become one of my go-to recipes whenever I want to impress guests or simply treat myself to something special without the hassle of traditional frying. The combination of minimal cleanup, reduced calories, and restaurant-quality results makes this technique truly unbeatable.
What I love most about this recipe is its versatility – whether you’re serving these crispy morsels as an appetizer at a dinner party, adding them to tacos for a quick weeknight dinner, or including them in a larger seafood feast, they’re always a hit. The satisfaction of biting into that perfect crunch followed by the tender, juicy shrimp inside never gets old.
I encourage you to make this recipe your own by experimenting with different spice blends and dipping sauces. The foundational technique will remain the same, but the flavor possibilities are endless. And once you master breaded shrimp, you’ll find yourself air frying everything from chicken tenders to vegetables with the same delicious results.
So pull out your air fryer, grab some fresh shrimp, and prepare to amaze yourself and anyone lucky enough to share your table. I’m confident this will become a regular in your cooking rotation just as it has in mine!