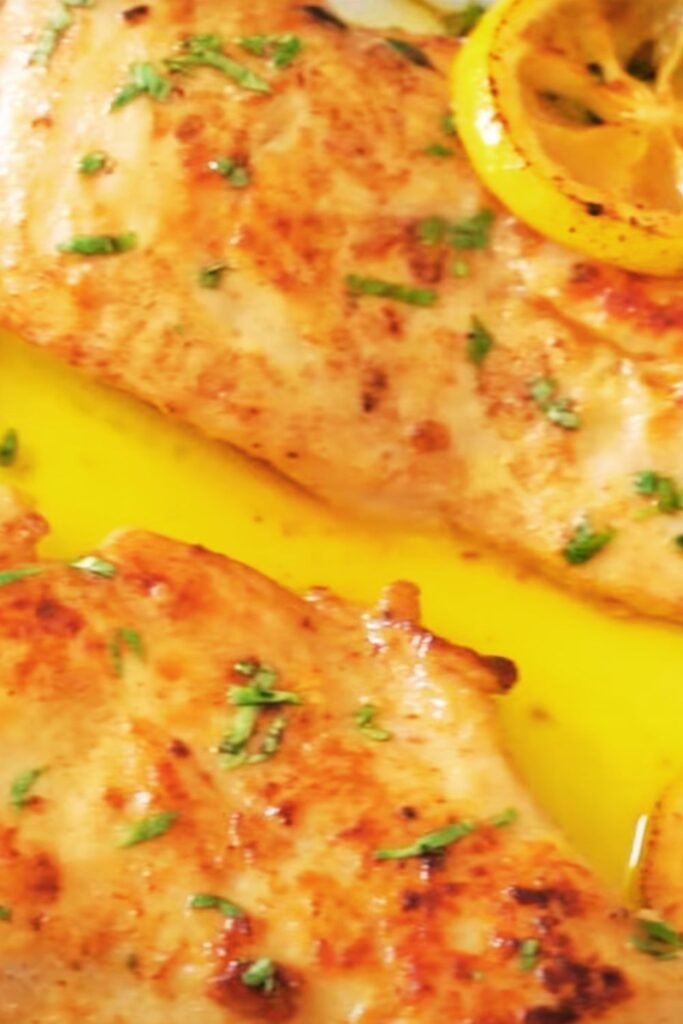
There’s something magical about the combination of tender chicken, bright lemon, and aromatic garlic all coming together in one beautiful skillet. I’ve been perfecting this one skillet lemon garlic chicken recipe for years, and I can confidently say it’s become my go-to weeknight dinner that never fails to impress. The best part? Everything cooks in a single pan, which means minimal cleanup and maximum flavor.
This recipe transforms simple ingredients into something extraordinary. The chicken develops a gorgeous golden-brown crust while staying incredibly juicy inside, and the sauce—oh, that sauce!—is a perfect balance of tangy lemon and savory garlic that will have you licking the plate clean. I’ve served this to everyone from picky toddlers to sophisticated dinner guests, and it’s always a hit.
What makes this recipe truly special is its versatility and foolproof nature. Whether you’re a beginner cook looking for something impressive yet manageable, or an experienced home chef seeking a reliable weeknight staple, this dish delivers every single time. The cooking technique ensures even heat distribution, resulting in perfectly cooked chicken with a restaurant-quality finish.
Why This Recipe Works So Well
The magic lies in the method. By starting with properly seasoned chicken and building layers of flavor throughout the cooking process, we create depth that you simply can’t achieve with more complicated multi-pan approaches. The skillet becomes our flavor-building vessel, capturing every bit of the delicious fond (those golden-brown bits) that develops as the chicken cooks.
I’ve tested this recipe countless times, adjusting the ratios and techniques until I achieved perfection. The key breakthrough came when I realized that the order of operations matters tremendously. Searing the chicken first, then building the sauce in the same pan with all those flavorful drippings, creates a cohesive dish where every element complements the others.
Essential Ingredients Breakdown
Chicken Selection:
- Chicken Thighs (Bone-in, Skin-on): My preferred choice for maximum flavor and juiciness
- Chicken Breasts: Works well but requires more careful timing to prevent drying
- Drumsticks: Excellent option for families, though cooking time increases
Flavor Foundation:
- Fresh Garlic: Never substitute with powder; the fresh bite is irreplaceable
- Fresh Lemons: Both juice and zest are crucial for bright, authentic flavor
- Fresh Herbs: Rosemary, thyme, or oregano each bring unique character
Supporting Cast:
- Quality Olive Oil: Extra virgin for the best flavor
- Butter: Adds richness and helps create the perfect sauce consistency
- White Wine or Chicken Broth: Deglazes the pan and adds depth
Complete Ingredient List
| Ingredient | Quantity | Purpose | Substitution Options |
|---|---|---|---|
| Chicken thighs (bone-in, skin-on) | 6-8 pieces | Main protein | Chicken breasts, drumsticks |
| Fresh garlic cloves | 6-8 cloves | Aromatic base | 2 tsp garlic powder (not ideal) |
| Fresh lemons | 2 large | Acid and brightness | 1/3 cup bottled lemon juice |
| Extra virgin olive oil | 3 tablespoons | Cooking fat | Avocado oil, vegetable oil |
| Unsalted butter | 4 tablespoons | Richness and sauce | Ghee, more olive oil |
| Fresh thyme | 2 teaspoons | Herbal note | Rosemary, oregano |
| Salt | 2 teaspoons | Seasoning | Sea salt, kosher salt |
| Black pepper | 1 teaspoon | Spice | White pepper |
| Paprika | 1 teaspoon | Color and mild heat | Smoked paprika |
| White wine | 1/2 cup | Deglazing | Chicken broth, white grape juice |
| Chicken broth | 1 cup | Sauce base | Vegetable broth, water + bouillon |
Equipment You’ll Need
Essential Tools:
- Large Cast Iron Skillet: 12-inch diameter minimum for proper spacing
- Tongs: For safe chicken handling and flipping
- Meat Thermometer: Ensures perfect doneness every time
- Microplane Zester: For fine lemon zest
- Sharp Chef’s Knife: Clean cuts prevent bruising herbs and garlic
Optional but Helpful:
- Splatter Screen: Keeps your stovetop clean during searing
- Paper Towels: For patting chicken dry (crucial step)
- Small Prep Bowls: Organization makes cooking smoother
Step-by-Step Cooking Instructions
Preparation Phase (15 minutes)
Step 1: Prep the Chicken Remove chicken from refrigerator 30 minutes before cooking to bring to room temperature. This ensures even cooking throughout. Pat each piece completely dry with paper towels—this step is absolutely critical for achieving that beautiful golden crust. Moisture is the enemy of proper browning.
Step 2: Season Generously In a small bowl, combine salt, pepper, and paprika. Season chicken pieces all over, pressing the seasoning into the skin. I like to season at least 15 minutes before cooking, allowing the salt to penetrate the meat and enhance flavor throughout.
Step 3: Prepare Aromatics Mince garlic finely—I prefer using a sharp knife rather than a press for better texture. Zest both lemons before juicing them; you’ll need about 1/4 cup fresh juice and 2 tablespoons zest. Strip thyme leaves from stems.
Cooking Phase (35-40 minutes)
Step 4: Heat the Skillet Preheat your cast iron skillet over medium-high heat for 3-4 minutes. Add olive oil and let it shimmer—this indicates the perfect temperature for searing. The oil should move freely around the pan but not smoke.
Step 5: Sear the Chicken Place chicken skin-side down in the skillet, ensuring pieces don’t overcrowd. You should hear an immediate sizzle. Don’t move the chicken for 5-6 minutes—resist the urge to peek! This undisturbed cooking time creates the golden crust we’re after.
Step 6: Flip and Continue Using tongs, flip each piece. The skin should release easily and be beautifully golden. Cook another 4-5 minutes on the second side. Remove chicken to a plate and tent with foil.
Step 7: Build the Sauce Reduce heat to medium. In the same skillet with all those beautiful drippings, add minced garlic. Sauté for 30 seconds until fragrant but not browned. Add white wine, scraping up any browned bits with a wooden spoon.
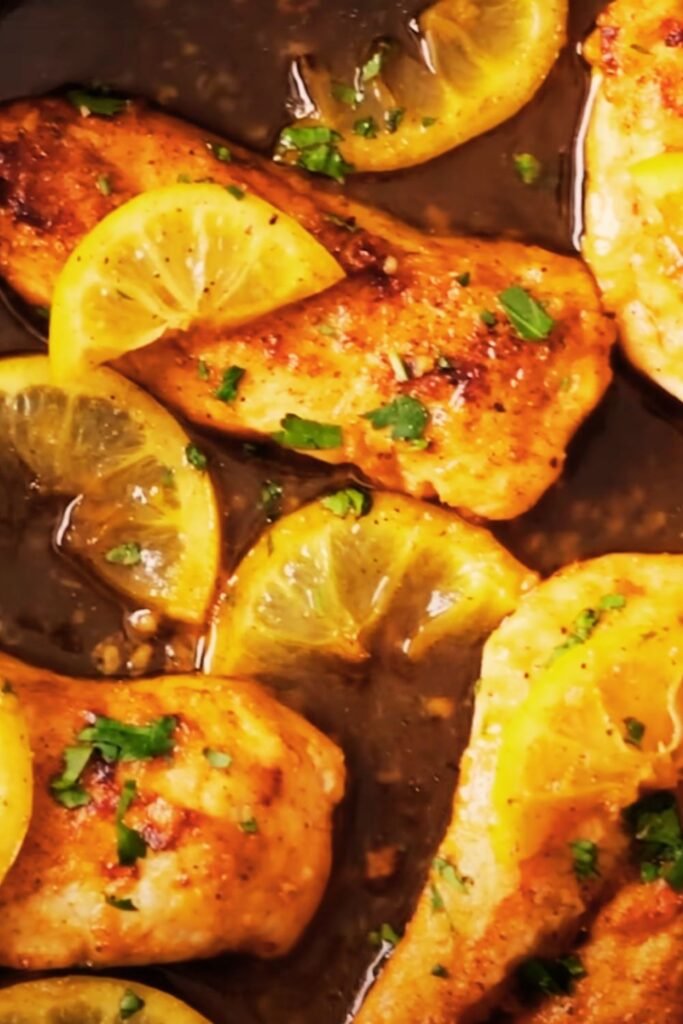
Step 8: Finish the Dish Add lemon juice, chicken broth, and thyme. Return chicken to skillet, skin-side up. Bring to a gentle simmer, then reduce heat to low. Cover and cook 20-25 minutes until chicken reaches 165°F internal temperature.
Step 9: Final Touches Remove from heat and stir in butter and lemon zest. Taste and adjust seasoning. The sauce should be bright, savory, and perfectly balanced.
Cooking Time and Temperature Guide
| Cooking Stage | Temperature | Time | Internal Temp Goal |
|---|---|---|---|
| Initial searing | Medium-high | 5-6 minutes per side | N/A |
| Sauce building | Medium | 2-3 minutes | N/A |
| Final braising | Low simmer | 20-25 minutes | 165°F |
| Resting | Off heat | 5 minutes | Carry-over cooking |
Nutritional Information
| Nutrient | Per Serving (1 thigh) | % Daily Value |
|---|---|---|
| Calories | 285 | 14% |
| Protein | 28g | 56% |
| Total Fat | 16g | 25% |
| Saturated Fat | 4g | 20% |
| Carbohydrates | 4g | 1% |
| Fiber | 0g | 0% |
| Sugar | 2g | N/A |
| Sodium | 420mg | 18% |
| Vitamin C | 15mg | 25% |
| Iron | 1.2mg | 7% |
Nutritional values are approximate and based on standard ingredient databases
Serving Suggestions and Pairings
This versatile dish pairs beautifully with numerous side dishes. I love serving it over creamy mashed potatoes that soak up every drop of that incredible sauce. Rice pilaf is another excellent choice, as is crusty artisan bread for sauce-sopping.
Vegetable Pairings:
- Roasted Asparagus: The slight char complements the lemon beautifully
- Sautéed Green Beans: Simple preparation lets the chicken shine
- Roasted Brussels Sprouts: Caramelized edges add textural contrast
- Steamed Broccoli: Classic pairing that never disappoints
Starch Options:
- Garlic Mashed Potatoes: Creamy texture absorbs the sauce perfectly
- Wild Rice Pilaf: Nutty flavor adds complexity
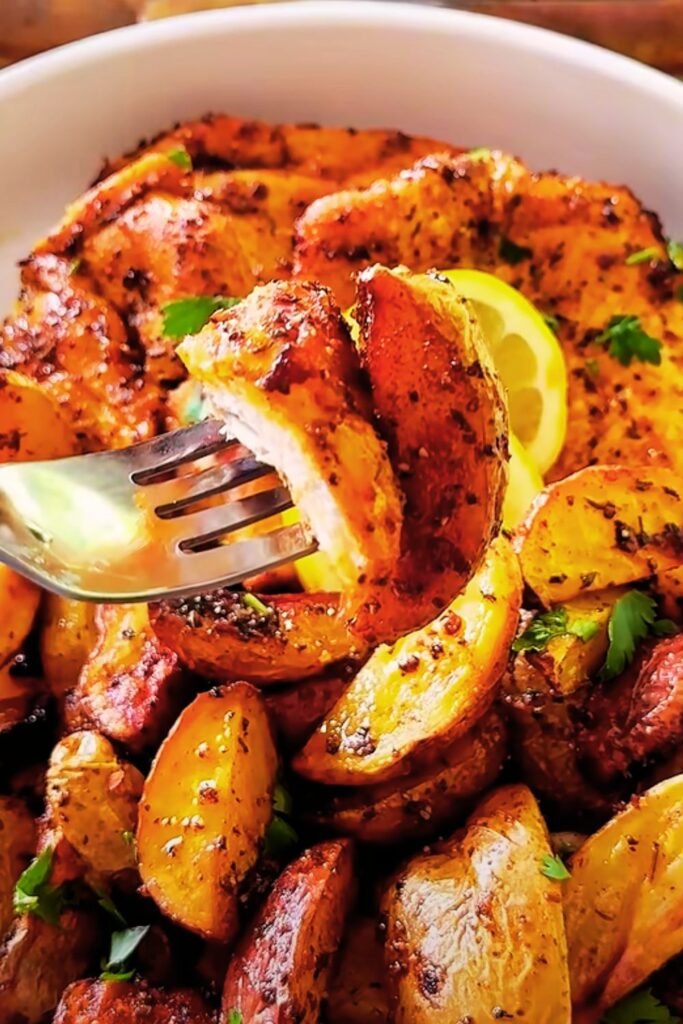
- Herb-Roasted Baby Potatoes: Rustic and satisfying
- Buttered Egg Noodles: Comfort food at its finest
Variations and Adaptations
Mediterranean Style: Add kalamata olives, sun-dried tomatoes, and fresh oregano. Finish with crumbled feta cheese for a Greek-inspired twist that transforms the entire flavor profile.
Herb-Crusted Version: Create a paste with fresh herbs, garlic, and olive oil. Rub under the skin before cooking for intensely flavored meat that’s aromatic and delicious.
Spicy Variation: Incorporate red pepper flakes and finish with a splash of hot sauce. The heat plays beautifully against the bright lemon and rich garlic.
Italian-Inspired: Add cherry tomatoes, fresh basil, and a splash of balsamic vinegar. This variation brings summer flavors to your table any time of year.
Storage and Reheating Instructions
Refrigerator Storage: Cool completely before transferring to airtight containers. Properly stored, this dish keeps for 3-4 days in the refrigerator. I recommend storing the chicken and sauce together to maintain moisture.
Freezing Guidelines: This recipe freezes beautifully for up to 3 months. Cool completely, then freeze in portion-sized containers. Thaw overnight in the refrigerator before reheating.
Reheating Methods:
- Oven: 325°F for 15-20 minutes, covered with foil
- Stovetop: Low heat with a splash of broth, stirring gently
- Microwave: 50% power in 30-second intervals (less ideal but works)
Troubleshooting Common Issues
Problem: Chicken Skin Not Crispy Solution: Ensure chicken is completely dry before cooking and don’t overcrowd the pan. High enough heat is essential for proper browning.
Problem: Sauce Too Thin Solution: Simmer uncovered for a few extra minutes to reduce, or whisk in a small amount of cornstarch slurry.
Problem: Chicken Overcooked Solution: Use a meat thermometer and remove from heat at exactly 165°F. Carry-over cooking will finish the job.
Problem: Sauce Too Acidic Solution: Add a pinch of sugar or an extra tablespoon of butter to balance the acidity.
Questions and Answers
Q: Can I use boneless chicken for this recipe? A: Absolutely! Boneless thighs work wonderfully and cook faster—reduce the final braising time to 12-15 minutes. Boneless breasts require even more careful timing to prevent overcooking.
Q: What if I don’t have white wine? A: Chicken broth works perfectly as a substitute. You can also use white grape juice for a touch of sweetness, or simply use more broth and add an extra squeeze of lemon.
Q: How do I know when the chicken is perfectly done? A: The most reliable method is using a meat thermometer—165°F in the thickest part. The juices should run clear, and the meat should feel firm but not tough when pressed.
Q: Can I make this dish dairy-free? A: Yes! Skip the butter and use extra olive oil, or try a plant-based butter substitute. The dish will still be delicious, though you’ll miss some of the richness butter provides.
Q: Why does my garlic sometimes burn? A: Garlic burns quickly once the chicken is removed because the pan is very hot. Reduce the heat to medium before adding garlic, and keep it moving in the pan.
Q: Can I add vegetables directly to the skillet? A: Certainly! Hardy vegetables like baby potatoes, carrots, or pearl onions can be added during the braising phase. They’ll absorb the wonderful flavors while cooking alongside the chicken.
Q: What’s the best way to get even browning on the chicken? A: Don’t overcrowd the pan—cook in batches if necessary. Make sure the chicken is dry and the oil is hot before adding it. Most importantly, don’t move the chicken until it’s ready to flip.
Q: How can I make this recipe spicier? A: Add red pepper flakes with the garlic, use hot paprika instead of regular, or finish with a few dashes of your favorite hot sauce. Start conservatively—you can always add more heat.
This one skillet lemon garlic chicken recipe has become my signature dish for good reason. It’s reliable, impressive, and absolutely delicious every single time. The combination of techniques—proper searing, flavor building, and gentle braising—creates restaurant-quality results in your own kitchen.
I love how this recipe teaches fundamental cooking skills while producing something truly special. The way the chicken develops that gorgeous golden crust, how the sauce comes together with the pan drippings, and the final balance of bright lemon and rich garlic—it’s cooking at its most satisfying.
Whether you’re cooking for family dinner or entertaining guests, this dish delivers on every level. The fact that it all happens in one skillet makes it practical for busy weeknights, while the elegant presentation makes it perfect for special occasions. I hope this recipe becomes as beloved in your kitchen as it has in mine.