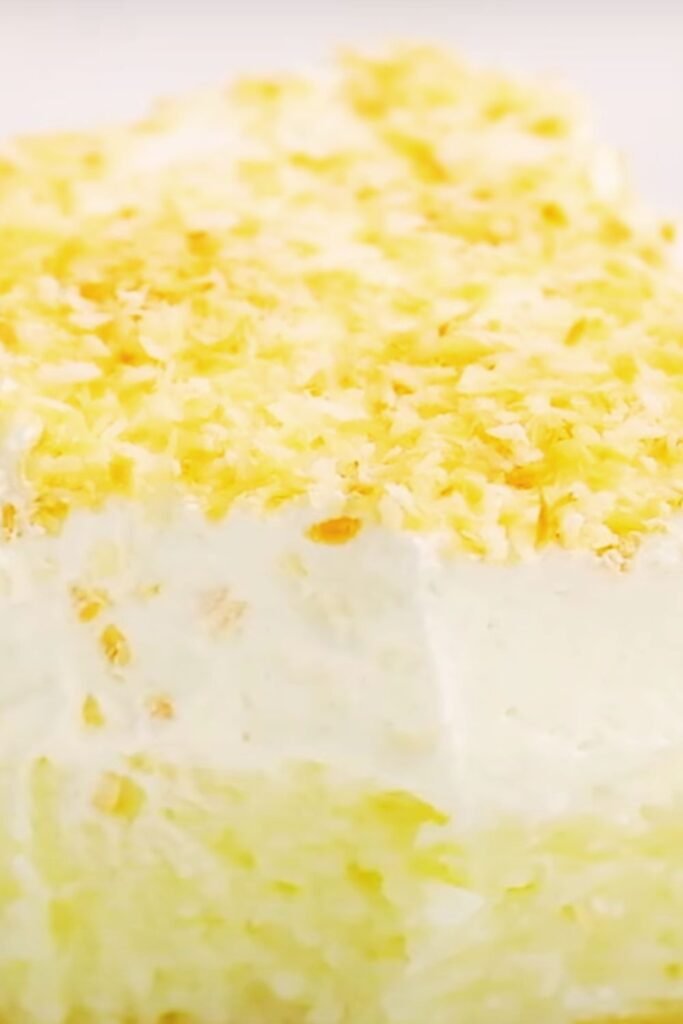
There’s something magical about the combination of creamy cheesecake and tropical coconut that makes my heart skip a beat every single time. When I first discovered I could create a lighter version of this heavenly dessert without sacrificing flavor, I knew I had stumbled upon something special. These skinny coconut cheesecake bars have become my go-to dessert when I want to indulge without the guilt that typically follows.
I’ve spent countless hours perfecting this recipe, tweaking ingredients and testing different techniques until I achieved that perfect balance of rich, creamy texture with just the right amount of coconut flavor. What makes these bars truly special isn’t just their incredible taste – it’s the fact that each serving contains significantly fewer calories than traditional cheesecake while maintaining that luxurious mouthfeel we all crave.
The beauty of these bars lies in their versatility and the clever ingredient substitutions that make them “skinny” without compromising on satisfaction. I’ve replaced heavy cream cheese with lighter alternatives, reduced sugar content through natural sweeteners, and incorporated coconut in multiple forms to create layers of tropical flavor that dance on your taste buds.
Understanding the “Skinny” Approach
Light Cream Cheese : A reduced-fat version of regular cream cheese that contains approximately 30% less fat while maintaining the tangy, creamy texture essential for cheesecake
Greek Yogurt : High-protein, low-fat dairy product that adds creaminess and helps achieve the perfect texture while boosting nutritional value
Natural Sweeteners : Sugar alternatives like stevia, erythritol, or monk fruit that provide sweetness with fewer calories and less impact on blood sugar
Coconut Extract : Concentrated flavoring that delivers intense coconut taste without adding significant calories or fat
Unsweetened Coconut Flakes : Dried coconut that provides texture and flavor while keeping added sugars to a minimum
Essential Ingredients Breakdown
Creating the perfect skinny coconut cheesecake bars requires understanding each ingredient’s role in the final product. I’ve learned that successful lightened desserts aren’t just about reducing calories – they’re about maintaining the essential characteristics that make the original so appealing.
The foundation of these bars starts with the crust, which I’ve reimagined using graham cracker crumbs mixed with a small amount of melted butter and a touch of coconut oil. This combination provides that classic cheesecake base while incorporating subtle coconut notes from the very first bite.
For the filling, I rely on a combination of light cream cheese and Greek yogurt. The cream cheese delivers that essential tangy richness, while the Greek yogurt contributes protein and helps achieve the perfect creamy consistency. I’ve discovered that the ratio between these two ingredients is crucial – too much yogurt and the bars become too tart, too much cream cheese and we lose the “skinny” benefits.
The coconut component comes from multiple sources in my recipe. I use both coconut extract for intense flavor and unsweetened coconut flakes for texture. Sometimes I’ll add a small amount of coconut milk for extra richness, but I’m careful not to overdo it since we’re keeping calories in check.
Detailed Recipe Instructions
Crust Preparation
I always start with the crust because it needs time to set while I prepare the filling. Here’s my tried-and-true method:
- Crush 1½ cups of graham crackers into fine crumbs using a food processor
- Mix crumbs with 3 tablespoons melted butter and 1 tablespoon melted coconut oil
- Add 1 tablespoon of powdered erythritol for subtle sweetness
- Press mixture firmly into lined 8×8 inch pan
- Refrigerate for 15 minutes to set
The key to a successful crust is achieving the right moisture level. Too dry and it won’t hold together; too wet and it becomes soggy. I’ve found that the combination of butter and coconut oil provides the perfect binding while adding coconut flavor.
Filling Creation
This is where the magic happens. The filling needs to be perfectly smooth and well-combined to avoid any lumps or separation:
- Allow 16 oz light cream cheese to reach room temperature (this is crucial!)
- Beat cream cheese until completely smooth and fluffy
- Gradually add ¾ cup plain Greek yogurt
- Mix in ½ cup powdered erythritol until well combined
- Add 2 large eggs, one at a time, beating well after each addition
- Incorporate 1 teaspoon coconut extract and ½ teaspoon vanilla extract
- Fold in ⅓ cup unsweetened coconut flakes
The temperature of your ingredients matters tremendously. Cold cream cheese will never achieve the smooth consistency we need, and it’s nearly impossible to fix once you’ve started mixing. I always take my cream cheese out at least two hours before I plan to bake.
Baking Process
Cheesecake bars require gentle, even baking to prevent cracking and ensure a creamy texture:
- Preheat oven to 325°F (never higher for cheesecake!)
- Pour filling over prepared crust
- Smooth top with an offset spatula
- Bake for 28-32 minutes until center is almost set
- Turn off oven and crack door open
- Allow bars to cool in oven for 1 hour
- Refrigerate for at least 4 hours or overnight
The gradual cooling process is essential for preventing cracks. I learned this lesson the hard way after several batches with unsightly cracks across the surface. Patience during this stage pays off with perfectly smooth bars.
Nutritional Comparison Table
| Component | Traditional Cheesecake Bar | Skinny Coconut Cheesecake Bar | Difference |
|---|---|---|---|
| Calories per serving | 420 | 185 | -235 calories |
| Total Fat | 32g | 8g | -24g |
| Saturated Fat | 18g | 5g | -13g |
| Carbohydrates | 28g | 12g | -16g |
| Sugar | 25g | 8g | -17g |
| Protein | 8g | 12g | +4g |
| Fiber | 1g | 2g | +1g |
| Sodium | 380mg | 290mg | -90mg |
This comparison clearly shows the significant nutritional improvements achieved through thoughtful ingredient substitutions. The increase in protein content is particularly beneficial, helping these bars feel more satisfying despite being lighter.
Topping Variations and Enhancements
One of my favorite aspects of these bars is how easily they can be customized with different toppings and flavor additions. I’ve experimented with numerous combinations over the years, and here are some of my most successful variations:
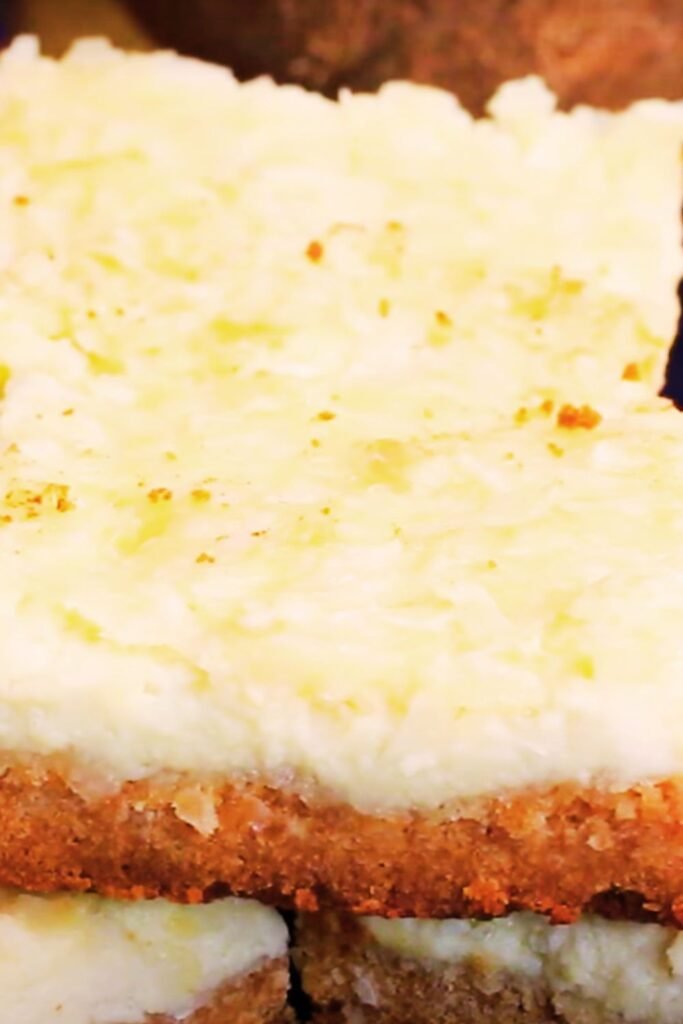
Toasted Coconut Topping: After the bars have cooled completely, I sometimes sprinkle additional coconut flakes on top and toast them under the broiler for 1-2 minutes. This adds wonderful texture contrast and intensifies the coconut flavor.
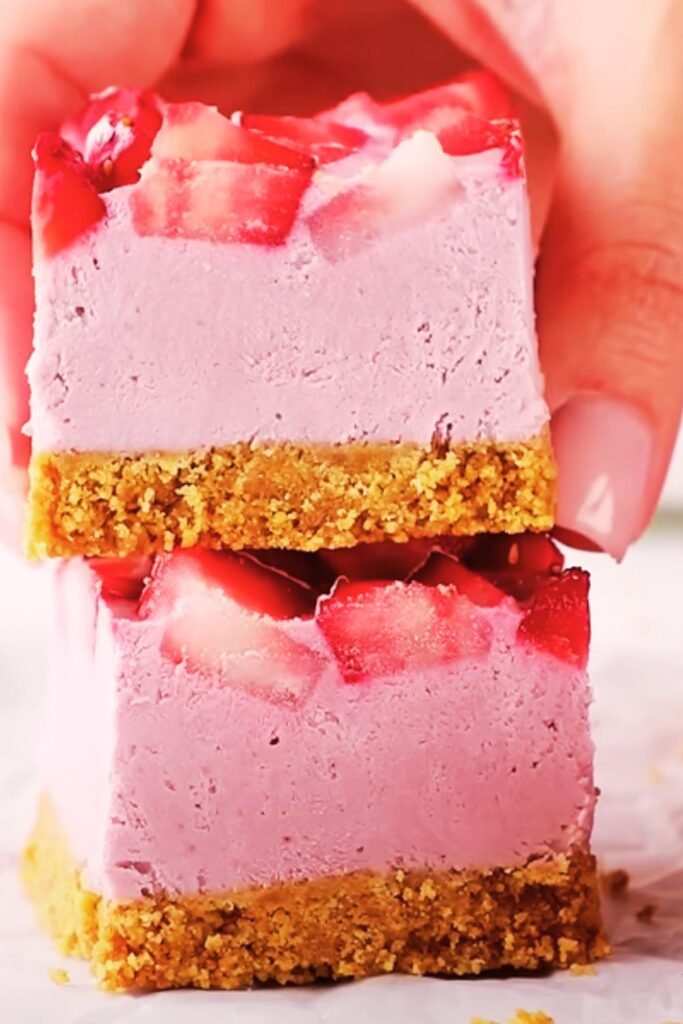
Berry Compote: Fresh or frozen berries cooked with a small amount of sugar-free sweetener create a beautiful and delicious topping that complements the coconut beautifully. The tartness of berries balances the rich creaminess perfectly.
Chocolate Drizzle: Melted dark chocolate (at least 70% cacao) drizzled over the cooled bars adds an indulgent touch without significantly impacting the “skinny” nature of the dessert.
Lime Zest: Fresh lime zest mixed into the filling or sprinkled on top adds a bright, citrusy note that enhances the tropical coconut flavor profile.
Storage and Serving Guidelines
Proper storage is crucial for maintaining the quality and texture of these bars. I’ve learned through experience that cheesecake-based desserts are particular about how they’re stored and served.
These bars keep beautifully in the refrigerator for up to one week when properly covered. I use plastic wrap directly on the surface to prevent them from absorbing other flavors, then cover the entire pan with aluminum foil. For longer storage, individual bars can be wrapped and frozen for up to three months.
When serving, I allow the bars to sit at room temperature for about 10-15 minutes before cutting. This makes them easier to slice cleanly and brings out the flavors. I use a sharp knife dipped in warm water and wiped clean between cuts for the neatest presentation.
Troubleshooting Common Issues
Cracked Surface: Usually caused by overbaking or cooling too quickly. Ensure oven temperature is accurate and follow the gradual cooling process.
Soggy Crust: Often results from not pressing the crust firmly enough or using too much liquid in the crust mixture. The crust should feel compact when pressed.
Lumpy Filling: Almost always due to cold cream cheese. Always bring dairy ingredients to room temperature before mixing.
Bars Too Soft: May need longer chilling time or could indicate underbaking. Ensure the center is almost set before removing from oven.
Separation Issues: Can occur if eggs are added too quickly or if mixture is overmixed after adding eggs. Add eggs one at a time and mix just until combined.
Ingredient Substitution Guide
| Original Ingredient | Substitution Options | Notes |
|---|---|---|
| Light Cream Cheese | Neufchâtel cheese, Cottage cheese (blended smooth) | Cottage cheese creates tangier flavor |
| Greek Yogurt | Sour cream, Silken tofu (blended) | Tofu makes bars denser |
| Erythritol | Stevia, Monk fruit, Xylitol | Adjust quantities based on sweetness level |
| Coconut Extract | Coconut milk powder, Real coconut puree | Powder adds more coconut flavor |
| Graham Crackers | Digestive biscuits, Vanilla wafers | Changes flavor profile slightly |
| Coconut Flakes | Shredded coconut, Coconut chips | Texture will vary with different forms |
Seasonal Adaptations
These bars adapt beautifully to different seasons and occasions. During summer months, I often add fresh tropical fruits like diced mango or pineapple to the filling for extra freshness. The natural sweetness of these fruits allows me to reduce the sweetener even further.
For autumn, I’ve experimented with adding a touch of cinnamon and nutmeg to create a more warming flavor profile. Winter versions sometimes include a hint of orange zest, which pairs surprisingly well with coconut.
Spring celebrations call for lighter presentations, and I often garnish these bars with edible flowers or fresh mint leaves for a beautiful, garden-fresh appearance.
Health Benefits and Dietary Considerations
Beyond being lower in calories, these skinny coconut cheesecake bars offer several nutritional advantages over traditional versions. The increased protein content from Greek yogurt helps with satiety, meaning you’ll feel satisfied with a smaller portion.
The coconut component provides medium-chain triglycerides (MCTs), which are metabolized differently than other fats and may offer energy benefits. Additionally, the reduced sugar content makes these bars more suitable for those monitoring their blood sugar levels.
For those following specific dietary patterns, these bars can be adapted: they’re naturally gluten-free if you use gluten-free graham crackers for the crust, and the reduced sugar content makes them more compatible with low-carb eating styles.
Perfect Occasions for Serving
I’ve served these bars at countless gatherings, and they never fail to impress. They’re sophisticated enough for dinner parties yet casual enough for family barbecues. The tropical coconut flavor makes them particularly popular at summer gatherings and poolside parties.
Holiday celebrations benefit from their lighter nature – guests appreciate having a delicious dessert option that doesn’t leave them feeling overly full. I’ve also found them to be popular at potluck events because they’re easy to transport and serve.
For special occasions, I sometimes make them in mini muffin tins to create individual portions, which adds an elegant touch to the presentation.
Advanced Tips for Perfect Results
After making these bars countless times, I’ve developed several advanced techniques that consistently produce exceptional results:
Temperature Control: I use an oven thermometer to ensure accuracy, as most home ovens run hot or cold. Cheesecake is particularly sensitive to temperature variations.
Water Bath Alternative: While traditional cheesecake often uses a water bath, these bars don’t require one due to their smaller size and shorter baking time. However, placing a pan of hot water on the bottom oven rack creates steam that helps prevent cracking.
Testing for Doneness: The center should jiggle slightly when gently shaken – it will continue cooking from residual heat during the cooling process.
Clean Cutting: For professional-looking bars, I chill the entire pan overnight, then use a ruler to mark cutting lines before slicing.
Questions and Answers
Q: Can I make these bars dairy-free? Yes! I’ve successfully made dairy-free versions using cashew cream cheese and coconut yogurt. The texture is slightly different but still delicious. Make sure to use full-fat coconut milk for the best results.
Q: How far in advance can I make these bars? These bars are actually better when made ahead! I often prepare them 1-2 days before serving, as the flavors meld beautifully and the texture becomes even more creamy. They can be made up to 3 days in advance.
Q: Why do my bars sometimes have a grainy texture? Graininess usually results from the sweetener not dissolving completely or from overmixing. Make sure to use powdered erythritol rather than granulated, and mix just until smooth. Some natural sweeteners can cause this texture issue.
Q: Can I use regular sugar instead of sugar substitutes? Absolutely! You can substitute ½ cup of regular sugar for the erythritol. This will increase the calorie content but still results in lighter bars than traditional recipes. The texture may be slightly different due to how sugar interacts with the other ingredients.
Q: What’s the best way to get clean, professional-looking cuts? The secret is using a sharp knife dipped in warm water between each cut. I also make sure the bars are well-chilled before cutting. Some people prefer using dental floss for the cleanest cuts – it works surprisingly well!
Q: Can I freeze individual portions? Yes! I often wrap individual bars in plastic wrap and freeze them for up to 3 months. They thaw beautifully in the refrigerator overnight. This makes them perfect for portion control or when you want a single serving treat.
Q: How do I prevent the coconut flakes from sinking to the bottom? Lightly coating the coconut flakes in a small amount of flour before folding them into the batter helps distribute them evenly throughout the bars. This technique works with any mix-ins that tend to sink.
Q: Can I double the recipe for a larger crowd? Definitely! I often double the recipe and use a 9×13 inch pan. You’ll need to increase the baking time by about 10-15 minutes, but watch carefully for doneness. The bars will be slightly thinner but equally delicious.
Q: What’s the difference between coconut extract and coconut flavoring? Coconut extract is made from real coconut and has a more natural, subtle flavor. Coconut flavoring is usually artificial and can taste more intense or sometimes artificial. I always recommend pure extract when possible for the best flavor.
Q: How do I know if my bars are properly set? The center should be almost set but still have a slight jiggle when you gently shake the pan. They’ll continue to firm up during the cooling process. If they’re completely firm in the oven, they may be overbaked and could crack during cooling.
These skinny coconut cheesecake bars have become one of my most requested recipes, and I hope they bring as much joy to your kitchen as they have to mine. The combination of guilt-free indulgence and incredible flavor makes them perfect for any occasion where you want to treat yourself and your loved ones to something special.