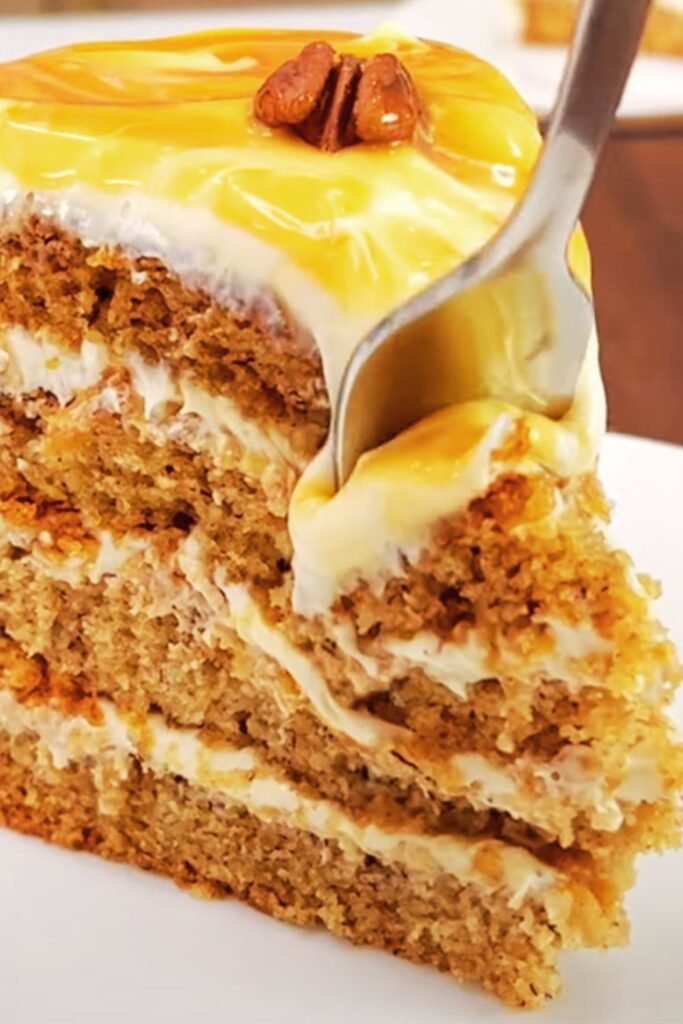
When I first discovered the magical combination of bananas, caramel, and cream, my world changed forever. This isn’t just another dessert recipe – it’s a culinary masterpiece that transforms simple ingredients into an extraordinary experience. I’ve spent years perfecting this banana caramel cream dessert, and today I’m sharing every secret, tip, and technique that will help you create this stunning treat in your own kitchen.
The beauty of this dessert lies not only in its incredible taste but also in its versatility. Whether you’re hosting an elegant dinner party, celebrating a special occasion, or simply treating yourself to something extraordinary, this banana caramel cream dessert delivers sophistication and comfort in every spoonful. I’ve served this to skeptical guests who claimed they didn’t like bananas, only to watch them ask for seconds and beg for the recipe.
What Makes This Banana Caramel Cream Dessert Special
My approach to this dessert breaks away from traditional methods. Instead of relying on artificial flavors or shortcuts, I focus on building layers of natural sweetness and texture that complement each other perfectly. The bananas provide natural sweetness and creamy texture, while the homemade caramel adds depth and sophistication. The cream element ties everything together, creating a dessert that’s both indulgent and surprisingly light.
Key Components:
- Fresh Bananas: The foundation of natural sweetness and creamy texture
- Homemade Caramel: Rich, buttery, and perfectly balanced
- Silky Cream Layer: Light yet indulgent, providing the perfect contrast
- Textural Elements: Carefully chosen additions that create interest in every bite
Essential Ingredients and Their Roles
Understanding each ingredient’s purpose helps you achieve perfect results every time. I’ve learned through countless experiments that quality ingredients make an enormous difference in the final product.
Primary Ingredients
| Ingredient | Quantity | Purpose | Quality Tips |
|---|---|---|---|
| Ripe Bananas | 6 large | Natural sweetness, creamy base | Choose bananas with brown spots for maximum sweetness |
| Heavy Cream | 2 cups | Rich texture, whipping base | Must be at least 35% fat content |
| Granulated Sugar | 1 cup | Caramel creation, sweetness balance | Use fine granulated for smooth caramel |
| Unsalted Butter | 4 tablespoons | Richness, caramel smoothness | European-style butter for best flavor |
| Vanilla Extract | 2 teaspoons | Flavor enhancement | Pure vanilla extract, never imitation |
| Sea Salt | 1/4 teaspoon | Flavor balance, caramel depth | Fine sea salt or flaky finishing salt |
Supporting Ingredients
| Ingredient | Quantity | Purpose | Notes |
|---|---|---|---|
| Mascarpone Cheese | 8 oz | Creaminess, richness | Room temperature for easy mixing |
| Brown Sugar | 1/3 cup | Complex sweetness | Light brown sugar works best |
| Lemon Juice | 1 tablespoon | Prevents browning, adds brightness | Fresh squeezed only |
| Gelatin Powder | 1 packet | Structure, stability | Unflavored, high-quality brand |
| Graham Crackers | 1 sleeve | Textural contrast | Honey-flavored varieties work well |
Step-by-Step Preparation Guide
My method for creating this dessert focuses on building flavors in stages. Each component deserves individual attention before bringing everything together in perfect harmony.
Stage 1: Creating the Perfect Caramel
The caramel is the soul of this dessert, and I’ve refined this technique over years of practice. Many people fear making caramel, but my method eliminates guesswork and ensures success every time.
My Foolproof Caramel Method:
- Heat sugar in a heavy-bottomed saucepan over medium heat
- Resist the urge to stir; instead, gently swirl the pan
- Watch for the sugar to turn a deep amber color
- Remove from heat and slowly add butter, whisking constantly
- Gradually incorporate cream while whisking vigorously
- Add vanilla and salt, then strain for smoothness
Temperature Guide for Perfect Caramel:
| Stage | Temperature | Visual Cue | Action Required |
|---|---|---|---|
| Melting | 300°F | Sugar begins dissolving | Swirl pan gently |
| Light Amber | 320°F | Pale golden color | Continue heating |
| Medium Amber | 340°F | Rich amber hue | Prepare to add butter |
| Dark Amber | 350°F | Deep caramel color | Remove from heat immediately |
Stage 2: Preparing the Banana Base
The banana preparation is crucial for achieving the right texture and preventing oxidation. I’ve developed a technique that preserves the bananas’ natural sweetness while creating a smooth, luxurious base.
Banana Preparation Steps:
- Select bananas with optimal ripeness
- Slice uniformly for consistent texture
- Toss immediately with lemon juice
- Mash to desired consistency using a fork or potato masher
- Fold in brown sugar gradually
- Allow to macerate for 15 minutes
Stage 3: Crafting the Cream Layer
The cream layer requires patience and attention to detail. I’ve learned that temperature control and timing are everything when creating this component.
Cream Layer Technique:
- Chill all equipment for 30 minutes before starting
- Bloom gelatin in cold water for 5 minutes
- Warm a small portion of cream to dissolve gelatin
- Whip remaining cream to soft peaks
- Fold in mascarpone until smooth
- Incorporate gelatin mixture gradually
- Continue whipping to medium peaks
Assembly Techniques for Professional Results
The assembly process transforms individual components into a cohesive masterpiece. My layering technique ensures each element shines while creating visual appeal that rivals professional desserts.
Layer Construction Method
Foundation Layer: I start with a graham cracker crumb base that provides textural contrast and structural support. The key is achieving the right balance between firmness and tenderness.
Banana Layer Application: The banana mixture goes on next, spread evenly to create a smooth surface. I use an offset spatula to achieve professional-looking results.
Caramel Integration: Rather than simply pouring caramel over the banana layer, I create swirls and patterns that distribute the caramel throughout while maintaining visual interest.
Cream Layer Finishing: The final cream layer gets applied using a piping bag fitted with a large star tip, creating elegant rosettes that showcase the dessert’s sophistication.
Flavor Variations and Customizations
Over the years, I’ve developed numerous variations that cater to different preferences and dietary needs. Each variation maintains the core appeal while offering unique twists.
Seasonal Adaptations
| Season | Modification | Additional Ingredients | Flavor Profile |
|---|---|---|---|
| Spring | Fresh Berry Addition | Strawberries, raspberries | Bright, fruity |
| Summer | Tropical Twist | Coconut, lime zest | Light, refreshing |
| Fall | Spiced Version | Cinnamon, nutmeg | Warm, comforting |
| Winter | Chocolate Enhancement | Dark chocolate, espresso | Rich, indulgent |
Dietary Adaptations
I understand that dietary restrictions shouldn’t prevent anyone from enjoying this incredible dessert. Here are my tested adaptations:
Dairy-Free Version:
- Replace heavy cream with coconut cream
- Substitute mascarpone with cashew cream
- Use dairy-free butter in caramel
Reduced Sugar Option:
- Replace half the sugar with natural sweeteners
- Use sugar-free caramel sauce
- Increase vanilla and spice content to maintain flavor depth
Gluten-Free Adaptation:
- Substitute graham crackers with gluten-free cookies
- Use certified gluten-free ingredients throughout
- Consider almond flour-based alternatives

Professional Presentation Tips
Presentation elevates this dessert from homemade treat to restaurant-quality masterpiece. I’ve learned these techniques through years of experimentation and professional observation.
Plating Techniques
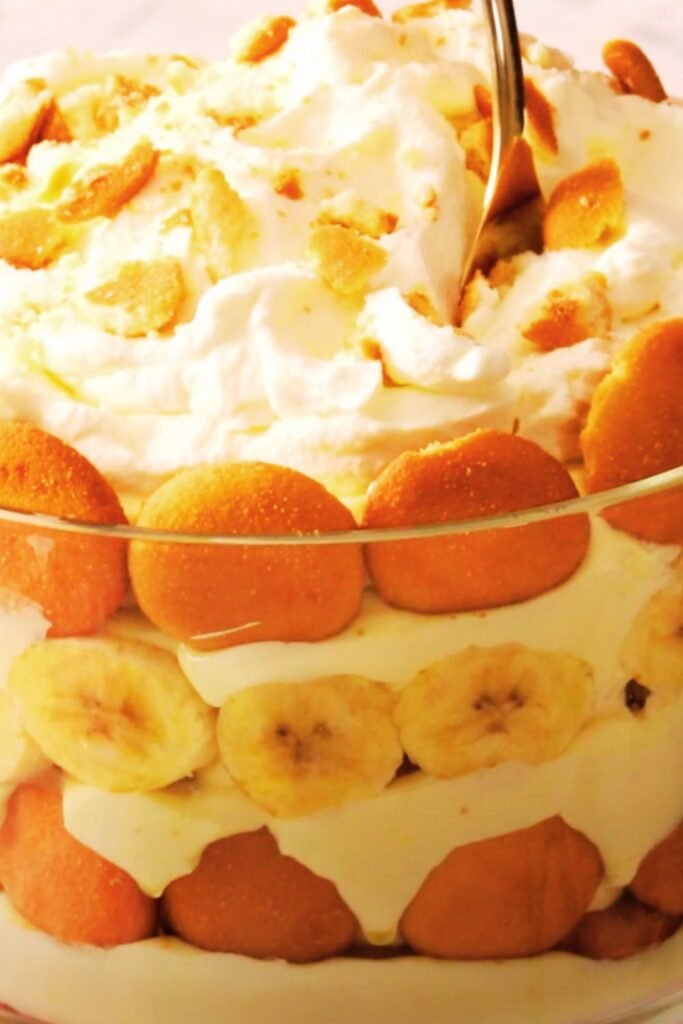
Individual Portions: Using clear glasses or ramekins allows guests to see the beautiful layers while maintaining portion control.
Family-Style Service: A large trifle bowl creates a stunning centerpiece that encourages sharing and conversation.
Elegant Garnishing:
- Toasted nuts for crunch and visual appeal
- Fresh mint for color contrast
- Caramel drizzle for professional finishing
- Edible flowers for special occasions
Storage and Serving Guidelines
Optimal Storage Conditions:
| Component | Storage Method | Duration | Temperature |
|---|---|---|---|
| Complete Dessert | Refrigerated, covered | 3-4 days | 35-38°F |
| Caramel Sauce | Sealed container | 1 week | Room temperature |
| Whipped Cream | Refrigerated | 2 days | 35-38°F |
| Banana Base | Refrigerated | 24 hours | 35-38°F |
Troubleshooting Common Issues
Through years of making this dessert, I’ve encountered every possible challenge and developed solutions for each one.
Caramel Problems and Solutions
Crystallized Caramel:
- Cause: Stirring too early or impurities in sugar
- Solution: Start over with clean equipment and resist stirring
Bitter Caramel:
- Cause: Overheating past the ideal temperature
- Solution: Add more cream and a pinch of baking soda to neutralize
Separated Caramel:
- Cause: Temperature shock when adding cold ingredients
- Solution: Warm cream before adding and whisk vigorously
Cream Layer Challenges
Deflated Cream:
- Cause: Over-whipping or temperature issues
- Solution: Chill equipment and watch for proper peak formation
Grainy Texture:
- Cause: Mascarpone too cold or gelatin clumps
- Solution: Bring mascarpone to room temperature and strain gelatin mixture
Nutritional Information and Health Benefits
While this dessert is undeniably indulgent, it also provides some surprising nutritional benefits thanks to its natural ingredients.
Nutritional Breakdown (Per Serving)
| Nutrient | Amount | % Daily Value | Health Benefits |
|---|---|---|---|
| Calories | 485 | 24% | Energy provision |
| Protein | 6g | 12% | Muscle maintenance |
| Carbohydrates | 52g | 17% | Quick energy source |
| Fiber | 3g | 12% | Digestive health |
| Potassium | 422mg | 12% | Heart health support |
| Vitamin C | 15mg | 17% | Immune system boost |
| Calcium | 145mg | 15% | Bone health |
Health Benefits of Key Ingredients
Bananas provide potassium, vitamin B6, and natural antioxidants that support heart health and provide sustained energy.
Dairy Components contribute calcium, protein, and vitamin D, essential for bone health and muscle function.
Natural Vanilla contains vanillin, which has been shown to have antioxidant properties and may help reduce inflammation.
Perfect Pairings and Serving Suggestions
The right accompaniments can elevate this dessert from wonderful to absolutely extraordinary. I’ve experimented with countless combinations to find the perfect matches.
Beverage Pairings
Hot Beverages:
- Freshly brewed coffee enhances the caramel notes
- Earl Grey tea provides citrusy contrast
- Hot chocolate creates ultimate indulgence
- Spiced chai complements the banana flavors
Cold Beverages:
- Sparkling water cleanses the palate
- Cold milk provides comforting familiarity
- Fruit-infused water adds refreshing contrast
- Herbal iced teas offer light, refreshing balance
Complementary Desserts
When serving for larger gatherings, I often pair this dessert with lighter options that provide variety without overwhelming the meal.
Make-Ahead Strategies
One of the greatest advantages of this dessert is its make-ahead friendly nature. Proper planning allows you to serve an impressive dessert without last-minute stress.
Timeline for Success
Three Days Before:
- Prepare and store caramel sauce
- Shop for all ingredients
- Chill serving dishes
One Day Before:
- Prepare banana base
- Make cream layer
- Assemble individual components
Day of Serving:
- Final assembly
- Garnish and plate
- Allow proper chilling time
Questions and Answers
Q. Can I use frozen bananas for this recipe? I don’t recommend frozen bananas as they become mushy when thawed and release excess water that can affect the dessert’s texture. Fresh, perfectly ripe bananas with brown spots provide the best flavor and consistency.
Q. How can I prevent the caramel from becoming too hard? The key is controlling temperature and adding cream gradually. If your caramel becomes too thick, gently warm it while stirring in additional cream one tablespoon at a time until you achieve the desired consistency.
Q. What’s the best way to store leftover dessert? Cover tightly with plastic wrap and refrigerate for up to four days. The flavors actually improve after a day as they have time to meld together. I recommend removing it from the refrigerator 15 minutes before serving for optimal texture.
Q. Can I substitute the mascarpone with cream cheese? While cream cheese can work in a pinch, mascarpone provides a smoother, less tangy flavor that complements the banana and caramel better. If you must substitute, use cream cheese at room temperature and add an extra tablespoon of heavy cream.
Q. Why does my cream layer sometimes separate? Cream separation usually occurs due to over-whipping or temperature fluctuations. Ensure all dairy ingredients are properly chilled, stop whipping at medium peaks, and fold ingredients gently to maintain the structure.
Q. How far in advance can I make this dessert? You can prepare this dessert up to two days in advance, though it’s best served within 24 hours of assembly. The components can be made separately up to three days ahead and assembled when ready to serve.
Q. What causes the banana layer to turn brown? Banana browning occurs due to oxidation. I prevent this by immediately tossing sliced bananas with fresh lemon juice, which acts as a natural preservative while adding a bright flavor note that enhances the overall taste.
Q. Can I make individual portions instead of one large dessert? Absolutely! Individual portions actually work better for entertaining. Use clear glasses or ramekins to showcase the beautiful layers, and adjust assembly time accordingly. Individual servings also allow for better portion control.
Q. What’s the secret to achieving perfect caramel consistency? Temperature control is crucial. Use a candy thermometer and remove the caramel from heat at exactly 350°F. The residual heat will continue cooking it slightly. Adding room temperature cream gradually while whisking prevents temperature shock that causes separation.
Q. How do I know when the cream layer is properly whipped? Perfect cream holds medium peaks that curl slightly at the tips when you lift the whisk. Over-whipped cream becomes grainy and may separate, while under-whipped cream won’t provide enough structure for the dessert layers.