There’s something undeniably magical about the classic Italian dessert tiramisu. The delicate balance of coffee-soaked ladyfingers, creamy mascarpone, and dusting of cocoa powder creates an experience that’s both comforting and sophisticated. As someone who’s been creating Italian desserts for years, I’ve always found that tiramisu holds a special place in people’s hearts—myself included.
But what if you could capture all those beloved flavors in a bite-sized treat that’s perfect for gifting, serving at parties, or enjoying as a little indulgence with your afternoon espresso? That’s exactly what these tiramisu truffles accomplish. They’re elegant, impressive, and surprisingly simple to make.
What Makes These Tiramisu Truffles Special
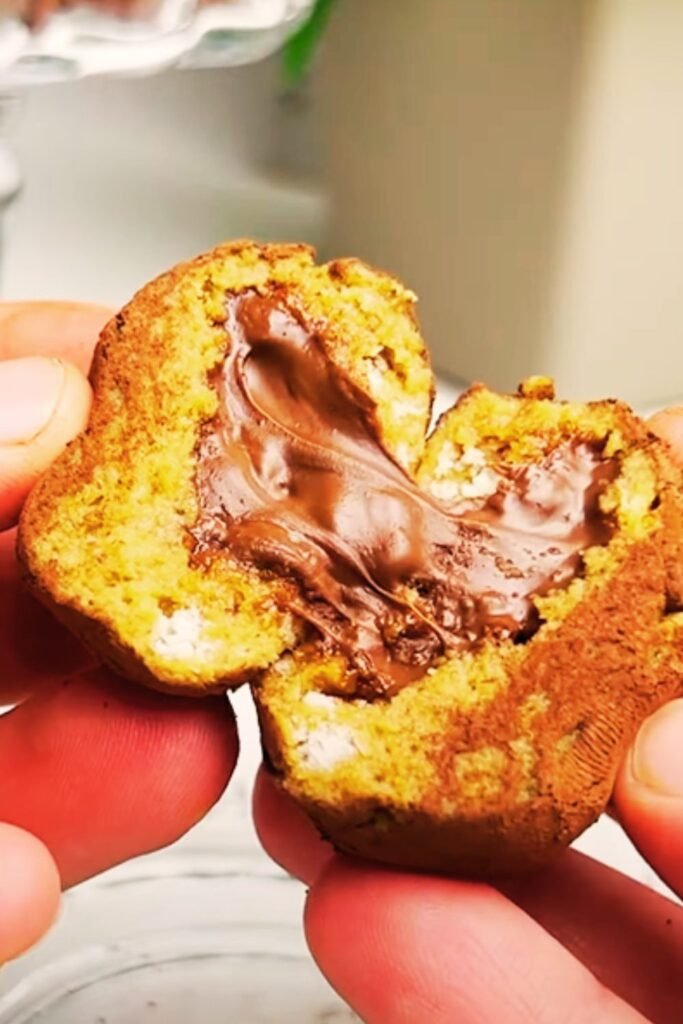
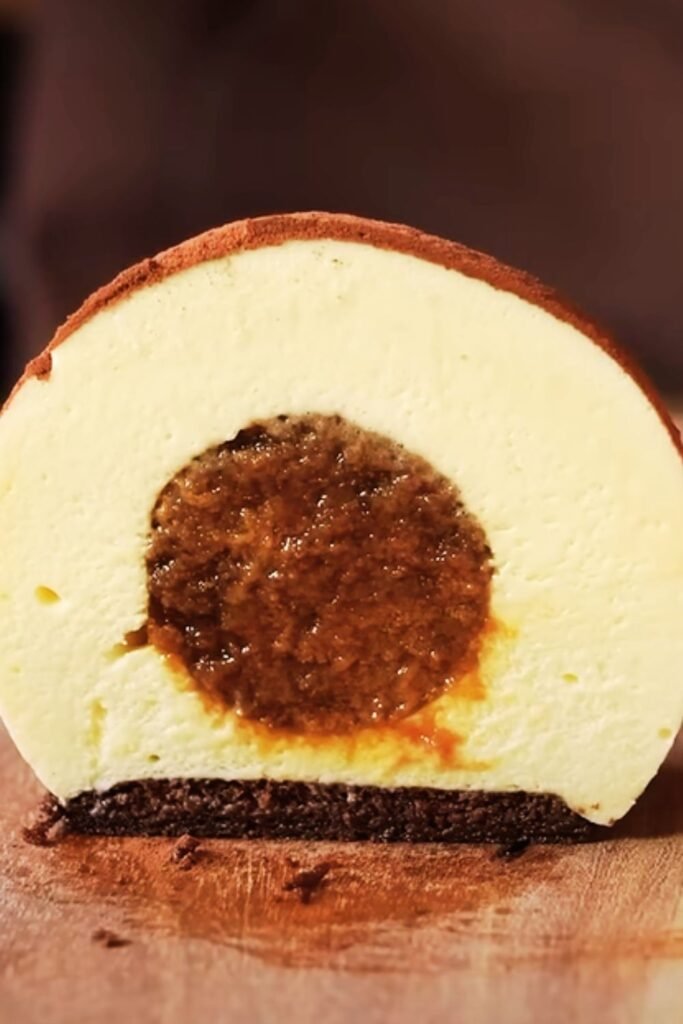
These aren’t just any chocolate truffles—they’re a concentrated explosion of classic tiramisu flavors in each bite. The center features a creamy, coffee-infused filling reminiscent of traditional tiramisu, while the outer chocolate coating provides structure and that satisfying “snap” when you bite into them.
What I love most about this recipe is how it takes a dessert that typically needs to be served in a dish and transforms it into something portable and giftable. Plus, they keep beautifully in the refrigerator for up to a week, making them perfect for preparing ahead of special occasions.
Ingredients You’ll Need
For the Truffle Filling:
- 8 oz (225g) mascarpone cheese, softened at room temperature
- 3 tablespoons confectioners’ sugar
- 1 tablespoon espresso powder dissolved in 2 tablespoons hot water
- 1 tablespoon marsala wine (optional, can substitute with 1 teaspoon vanilla extract)
- 8 oz (225g) ladyfingers, finely crushed (about 24 cookies)
- Pinch of salt
For the Coating:
- 12 oz (340g) high-quality dark chocolate (60-70% cocoa), chopped
- 2 tablespoons coconut oil
- 3 tablespoons cocoa powder for dusting
- 2 tablespoons finely ground espresso beans (optional, for rolling)
Special Equipment:
- Food processor or blender
- Stand mixer or hand mixer
- Parchment paper
- Cookie scoop (1-inch diameter)
- Baking sheets that fit in your freezer
Step-by-Step Instructions
Preparing the Filling
- Begin by crushing your ladyfingers into very fine crumbs. I find a food processor works best for this, but you can also place them in a zip-top bag and crush them with a rolling pin if you’re looking for a therapeutic cooking experience!
- In a small bowl, dissolve the espresso powder in hot water and let it cool completely. If you’re using real espresso instead of powder, brew a strong shot and allow it to cool.
- In the bowl of a stand mixer fitted with the paddle attachment (or using a hand mixer), beat the mascarpone cheese until smooth and creamy, about 1 minute.
- Add the confectioners’ sugar and continue beating until fully incorporated and the mixture is light and fluffy.
- Slowly pour in the cooled espresso mixture and marsala wine (if using) or vanilla extract. Beat until well combined, scraping down the sides of the bowl as needed.
- Add the crushed ladyfinger crumbs and a pinch of salt. Mix on low speed until everything is thoroughly combined and you have a thick, moldable dough-like mixture.
- Cover the bowl with plastic wrap and refrigerate for at least 1 hour or up to overnight. This resting period allows the flavors to meld and the mixture to firm up, making it easier to shape into truffles.
Shaping the Truffles
- Line a baking sheet with parchment paper.
- Once the filling mixture is properly chilled, use a 1-inch cookie scoop or a tablespoon to portion out the mixture.
- Roll each portion between the palms of your hands to form smooth balls. If the mixture becomes too soft to work with, return it to the refrigerator for 15-20 minutes before continuing.
- Place each rolled truffle on the prepared baking sheet, making sure they don’t touch each other.
- When all truffles are shaped, place the baking sheet in the freezer for at least 30 minutes. This crucial step ensures they’ll hold their shape when dipped in the warm chocolate coating.
Preparing the Chocolate Coating
- While the truffle centers are freezing, prepare your chocolate coating. In a medium-sized, microwave-safe bowl, combine the chopped dark chocolate and coconut oil.
- Microwave in 30-second intervals, stirring between each, until the chocolate is about 75% melted. Then, stir until completely smooth. The residual heat will melt the remaining chocolate, helping to temper it slightly and giving your truffles a better finish.
- Allow the melted chocolate to cool slightly but remain fluid—about 5 minutes at room temperature should do the trick.
- Place the cocoa powder in a shallow bowl for rolling the finished truffles.
Coating the Truffles
- Remove the frozen truffle centers from the freezer, but keep them on the cold baking sheet.
- Working with one truffle at a time, use a fork or specialized dipping tool to dip each ball into the melted chocolate, ensuring it’s completely coated.
- Lift the truffle out of the chocolate, allowing excess to drip off, then place it back on the parchment-lined baking sheet.
- Before the chocolate sets completely (work quickly!), sprinkle some with additional cocoa powder, ground espresso beans, or even a tiny piece of broken ladyfinger for decoration.
- Once all truffles are coated, return the baking sheet to the refrigerator for at least 30 minutes to allow the chocolate to set completely.
Storage and Serving Suggestions
These tiramisu truffles need to be stored in the refrigerator because of the mascarpone cheese filling. They’ll keep beautifully for up to one week when stored in an airtight container.
When serving, I recommend taking them out of the refrigerator about 15-20 minutes beforehand to allow them to come to a slightly cool room temperature—this is when their flavor and texture are at their absolute best. The contrast between the slightly softened interior and the firm chocolate exterior is truly delightful.
Serving suggestions:
- Arrange them on a beautiful platter alongside fresh berries for an elegant dessert table
- Place individual truffles in mini cupcake liners for easy handling at parties
- Pair them with espresso or a nice cup of coffee for an afternoon treat
- Include them as part of a dessert charcuterie board with fresh fruits, nuts, and other small treats
- Package them in a decorative box tied with ribbon for a lovely homemade gift
Variations to Try
While the classic tiramisu flavor is hard to beat, there are several delicious variations you might want to explore:
White Chocolate Coating
For a sweeter, more visually striking truffle, try using white chocolate for the coating instead of dark. The pale exterior with flecks of cocoa powder or espresso beans creates a beautiful contrast.
Baileys Irish Cream
For an adults-only version, replace the marsala wine with 1½ tablespoons of Baileys Irish Cream liqueur in the filling. This adds a lovely complementary flavor that pairs wonderfully with the coffee notes.
Orange-Infused
Add ½ teaspoon of orange zest to the filling mixture for a bright, citrusy note that elevates the chocolate and coffee flavors. This is particularly lovely during the holiday season.
Mocha Chip
Fold ¼ cup of mini chocolate chips into the filling mixture just before chilling for added texture and an extra burst of chocolate flavor in every bite.
Nutty Tiramisu
Roll the dipped truffles in finely chopped hazelnuts or almonds instead of cocoa powder for a delightful crunch and complementary flavor.

Troubleshooting Tips
| Problem | Potential Cause | Solution |
|---|---|---|
| Filling is too soft to roll | Mascarpone was too warm | Return mixture to refrigerator for 30+ minutes; use cold hands when rolling |
| Truffles losing shape when dipped | Centers weren’t frozen enough | Freeze centers for at least 45 minutes before dipping |
| Chocolate coating cracking | Temperature difference too extreme | Let centers thaw slightly before dipping; ensure chocolate isn’t too hot |
| Chocolate seizing | Contact with water or steam | Use completely dry utensils; avoid dipping over boiling water |
| Filling too dry | Too many ladyfinger crumbs | Add 1-2 additional teaspoons of espresso liquid or a touch of heavy cream |
| Chocolate too thick for dipping | Cooling too much | Reheat gently; add ½ teaspoon additional coconut oil |
| Cocoa powder not sticking | Chocolate hardened too quickly | Work faster or sprinkle cocoa immediately after dipping each truffle |
| Centers melting during coating | Room too warm | Work in a cool kitchen; return centers to freezer between batches |
The Perfect Size and Yield
This recipe yields approximately 24-28 truffles, depending on the size you make them. I’ve found that a 1-inch diameter (about 2 teaspoons of filling) creates the perfect bite-sized truffle. This size allows for the ideal ratio between the creamy filling and the chocolate coating.
If you prefer larger truffles, you can certainly make them bigger—just be aware that they might be a bit more challenging to eat in one bite! Smaller, more petite truffles make beautiful garnishes for dessert plates or coffee cups.
Making Ahead for Special Occasions
These tiramisu truffles are perfect for making ahead of time, which is one of the reasons I love serving them at parties or giving them as gifts. Here’s a timeline that works well:
- Up to 3 days ahead: Prepare the filling and shape the truffles. Store the shaped but uncoated truffles in the freezer.
- 1 day ahead: Dip the frozen centers in chocolate and allow them to set in the refrigerator overnight.
- Day of serving: Simply remove from the refrigerator 15-20 minutes before serving.
If you need to store them for longer, the fully finished truffles will keep in the refrigerator for up to one week, though the chocolate coating may lose some of its shine after a few days (but they’ll taste just as delicious!).
Nutrition Information
For those who might be curious about the nutritional content of these little indulgences, here’s an approximate breakdown per truffle (assuming a yield of 26 truffles):
| Nutrient | Amount per Truffle |
|---|---|
| Calories | 125 |
| Total Fat | 9g |
| Saturated Fat | 5g |
| Cholesterol | 15mg |
| Sodium | 35mg |
| Total Carbohydrates | 10g |
| Dietary Fiber | 1g |
| Sugars | 6g |
| Protein | 2g |
Remember, these are meant to be an occasional treat, not an everyday indulgence! But as far as desserts go, they actually contain less sugar than many commercial options.
Why These Truffles Never Fail to Impress
What I love most about serving these tiramisu truffles is the consistent reaction they get. There’s something about the combination of their elegant appearance and the familiar, beloved flavor of tiramisu that makes people’s eyes light up. Even those who claim they “don’t have a sweet tooth” often find themselves reaching for a second one.
I’ve brought these to dinner parties, holiday gatherings, and even packaged them as thank-you gifts for hosts, and they never fail to receive compliments. There’s something special about offering a homemade treat that captures a classic dessert in a new, unexpected form.
Plus, for anyone intimidated by making traditional tiramisu (with its raw egg concerns and precise layering), these truffles offer all the flavor with considerably less fuss and worry.
Q&A Section
Q: Can I make these truffles without alcohol? Absolutely! The marsala wine is traditional in tiramisu, but completely optional. Simply substitute with 1 teaspoon of vanilla extract for a non-alcoholic version that’s just as delicious and family-friendly.
Q: My mascarpone cheese curdled when I was mixing. What happened? This usually happens when the mascarpone is too cold when you start mixing or when it’s overbeaten. To prevent this, allow your mascarpone to come to cool room temperature (about 30 minutes out of the refrigerator) before beating, and mix only until smooth and combined—not longer.
Q: Can I use regular coffee instead of espresso? Yes, you can use strong brewed coffee instead of espresso, but you’ll want to reduce it first to concentrate the flavor. Simmer about ¼ cup of strong coffee down to 2 tablespoons to get a similar intensity to espresso.
Q: How far in advance can I make these for a party? These truffles can be made up to one week ahead and stored in the refrigerator. For the best flavor and texture, I recommend making them no more than 3 days before your event.
Q: Can I freeze these truffles for longer storage? Yes! The filled and coated truffles freeze well for up to 3 months. Thaw them overnight in the refrigerator before serving. The texture of the filling remains remarkably good, though the chocolate coating might develop a slight white “bloom” which doesn’t affect the taste.
Q: I don’t have a stand mixer. Can I still make these? Absolutely! A hand mixer works perfectly well for this recipe. You can even mix by hand with a wooden spoon if necessary—just be prepared for a bit of a workout to get that mascarpone smooth!
Q: The chocolate coating is setting too quickly while I’m dipping. What should I do? If your chocolate begins to thicken too much for smooth dipping, set the bowl over another bowl of warm (not hot) water and stir gently until it reaches the right consistency again. Adding a tiny bit more coconut oil can also help maintain fluidity.
Q: Can I use something besides coconut oil in the chocolate coating? Yes, you can substitute shortening or refined coconut oil (which has no coconut flavor) if you’re concerned about a slight coconut taste. Regular butter will work in a pinch, though it may slightly affect the setting properties of the chocolate.
Final Thoughts
Creating these tiramisu truffles always feels like a small act of culinary magic to me. Taking the complex layers and flavors of a classic Italian dessert and transforming them into an elegant, bite-sized treat is both satisfying and impressive. Whether you’re an experienced baker or relatively new to dessert-making, these truffles are approachable while still feeling special.
The combination of creamy mascarpone, the distinctive coffee notes, and the rich chocolate coating creates a perfect balance that captures the essence of tiramisu in each bite. I find myself making these throughout the year—they’re equally at home at a summer dinner party as they are as part of a holiday cookie platter in December.
If you love the flavors of traditional tiramisu but want something a bit more versatile and giftable, these truffles are absolutely worth trying. And don’t be surprised if you find yourself making batch after batch—they tend to disappear quickly!